Things You'll Need
Wood primer
Paintbrush
Mini roller
Tubes of caulk
Caulking gun
Utility knife
Putty knife
Painter's rags

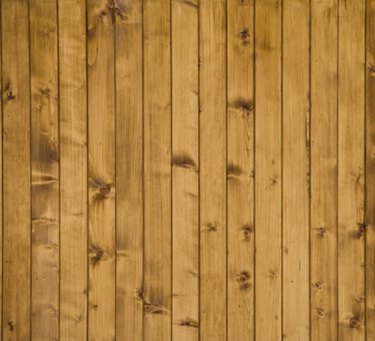
Wood paneling isn't as common as it once was. If your home still has walls covered with wood paneling and you want to paint it, you'll need to fill the cracks wherever two pieces of paneling meet. Drywall joint compound isn't a good idea, because it can crack after it dries; caulk is the best option. Caulk is flexible and will stretch as the paneling expands and contract with the temperature of house. Caulking does shrink, so several layers may be needed to fill deep cracks.
Step 1
Fill a handheld paint holder with 3 inches of primer paint.
Video of the Day
Step 2
Dip a paintbrush into the primer, then paint each crack from top to bottom with the brush's bristles. Prime the paneling between the cracks with a mini roller. Allow the primer to dry for 24 hours.
Step 3
Load a tube of caulk into the caulking gun. Cut the tip of the tube off with a utility knife. Squeeze the trigger of the gun to fill the nozzle of the tube with caulk.
Step 4
Raise the caulking gun to the top of the crack in the panel so that the tip of the tube is pointing in toward the crack.
Step 5
Place the pointer finger of your left hand over the tip. Squeeze the handle of the gun and, as caulking begins to come out of the gun, slide the gun down the crack along with your finger over the end of the tip. Your finger tip will smooth and push the caulk into the crack. Caulk all the way to the bottom of the floor. Wipe your finger off on the painter's rag.
Step 6
Position the putty knife blade at the top of the crack so the blade runs across the crack from one panel to the other. Slide the putty knife down the entire length of the crack to scrape up any excess caulk. Don't scrape too hard or you'll scrape off the primer paint. Repeat this process on the other cracks. Wait 24 hours for the caulk to dry. It will shrink a little during this time.
Step 7
Apply another layer of caulk in the crack, but this time chase the tip of the tube of caulk with the putty knife instead of your finger. The putty knife will smooth out the caulk in the crack so it fills perfectly flush with the surrounding panel surface. Wipe excess caulking off the knife blade onto the painter's rag as you caulk down the length of the crack. Wait 24 hours.
Step 8
Inspect the crack for shrinkage. If the caulk is still flush, the crack has been filled. If it shrank, apply another layer of caulk. Repeat this process until the crack is no longer visible and the entire wall of paneling looks like it's one level. Prime the caulked areas 24 hours after the last layer has been applied. The wall then is ready to paint.
Tip
Wet the painter's rag with water to make it easier to wipe off your fingers and the putty knife.
Video of the Day