Things You'll Need
Painter's tape
Masking tape
Foam brush
Primer
Latex paint

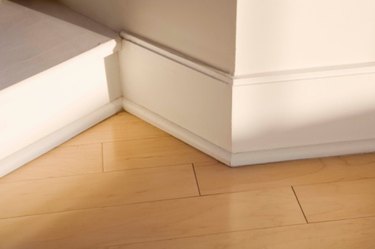
The right color of trim paint juxtaposes against wall coloring, making a room pop. However, most trim is too narrow to paint with a roller, so brush marks inevitably appear on the final coat. Fortunately, you don't have to live with unsightly brush marks if you use the right tools. Special foam brushes can eliminate brush marks when used correctly.
Step 1
Protect the wall and floor using painter's tape or masking tape.
Video of the Day
Step 2
Apply a coat of primer to the trim using a foam brush. Previously painted trim will accept new coats without primer, though it may take extra coats to fully cover the area if you don't prime first. For wooden trim, apply the primer using brush strokes perpendicular to the wood grain. If you brush on the primer parallel to the grain, the primer will not adequately fill the wood's pores, resulting in an uneven finish.
Step 3
Wait for the primer to dry. This can take upwards of 12 hours, depending on the exact brand of primer you use. Consult the primer's container for the most accurate drying estimates.
Step 4
Paint the trim using a clean foam brush and latex paint. Gloss or semigloss finishes are often used for trim to provide a polished look, though flat or eggshell options work, too, if you prefer a matte aesthetic. Paint only in one direction to keep the coverage uniform. With a coat of underlying primer, you do not need to worry about wood grain direction when applying paint.
Step 5
Apply additional coats of paint as needed in an hour or two, after the first coat dries.
Step 6
Dispose of your foam brushes once you are finished. Foam brushes are single-use items, and rinsing them out for storage is unnecessary.
Step 7
Wait at least 24 hours before removing the painter's tape. If the paint is even slightly wet or tacky, it can bleed onto the wall and floor surfaces once the tape is removed.
Video of the Day