Things You'll Need
Scanner
Printer
Compatible computer hardware cables
Heat transfer paper
Hard, flat surface protected with towels
Straight pins
Hot iron

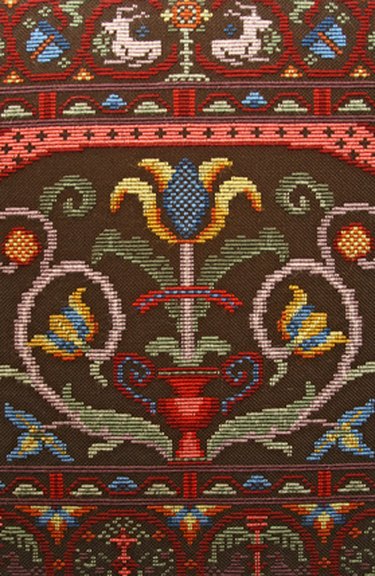
If you have been looking for a tapestry design to complete but your favorite craft shop doesn't stock what you're looking for, consider making your own. You can use nearly any picture. Use your computer and two peripheral devices to create a heat transfer image on special paper designed for the purpose. Your kitchen table, a few pins, and an iron finish the process in no time. A little time and effort will yield a design uniquely your own.
Iron-on Transfer
Step 1
Select an image that you find pleasing. You can use images with a great deal of details. Center the picture in the middle of the piece of tapestry fabric, making sure there are several inches of spare canvas on all sides. You will need this excess when you attach the fabric to the tapestry frame.
Video of the Day
Step 2
Attach the scanner and printer to your computer's appropriate ports using compatible cables. Turn on your computer and the peripherals. Scan your selected image with the scanner. Transfer the image data to your computer's image and photography program location. Open the file and view the image. Rotate it, crop it and do whatever else is required to produce the image quality you need.
Step 3
Load the printer with a couple of sheets of heat transfer paper intended for making iron-on designs on fabric. Select the image stored on computer and send it to your printer for reproduction. You may have to repeat this step until you get an iron-on transfer to your liking.
Step 4
Lay the tapestry canvas right-side up on a hard and flat surface large enough to accommodate the whole piece of fabric. A table is ideal because it is big enough to spread out the fabric without having any hanging over the edge.
Step 5
Place the heat-transfer image paper sheet face down in the center of the tapestry canvas. Secure the edges of the paper to the canvas with straight pins to be sure it won't shift or slip.
Use the iron to heat the transfer paper. Follow the manufacturer's instructions exactly for the proper heat setting and the amount of time to apply the iron.
Remove the iron and allow the now-printed fabric to cool and allow the image's colors to set.
Video of the Day