Things You'll Need
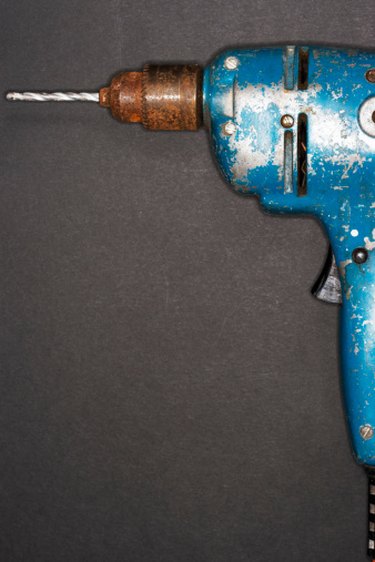
Drill (electric or air powered)
Chuck key
Sanding pad holder
Sanding or abrasive pads

Sanding disks are available for mounting onto hand-held electric or air powered drills. Once the sanding disk holder is properly installed, a variety of grit sandpapers and abrasive pads can be attached to address various needs. From removing gasket material to paint, varnish and rust, sanding disks can help to reduce the amount of elbow grease needed to prepare a part or surface for refinishing.
Step 1
Loosen the chuck on an electric or air powered drill. Turn the chuck by hand counterclockwise to loosen or use a chuck key. Remove any drill or driver bits installed in the drill chuck.
Video of the Day
Step 2
Insert the mounting post of the sanding pad holder into the chuck. Tighten the chuck by hand or with a key so that the sanding pad holder is held securely in place.
Step 3
Select a sanding or abrasive pad based on the type of work to be done or on personal preference. The pad must be the same diameter as the sanding pad holder.
Step 4
Remove the protective backing from the sanding or abrasive pad by peeling it off to reveal a sticky surface.
Step 5
Align the sanding or abrasive pad with the sanding pad holder mounted to the drill. Press the pad securely to the pad holder.
Step 6
Connect the hand held drill to a power supply or air supply.
Step 7
Hold the sanding or abrasive disk a few inches above the work surface and squeeze the drill trigger start the pad turning. Position the pad so it is as flush as possible with the work surface.
Step 8
Choose a working speed for the sanding or abrasive pad. Touch the pad to the work surface to begin removing material.
Tip
Change the sanding or abrasive pad periodically, as it wears down from contact with the work surface. Peel the worn pad from the sanding pad holder and install a new pad.
Video of the Day