Things You'll Need
Trisodium phosphate cleanser
Coarse sponge
Rags
Towels
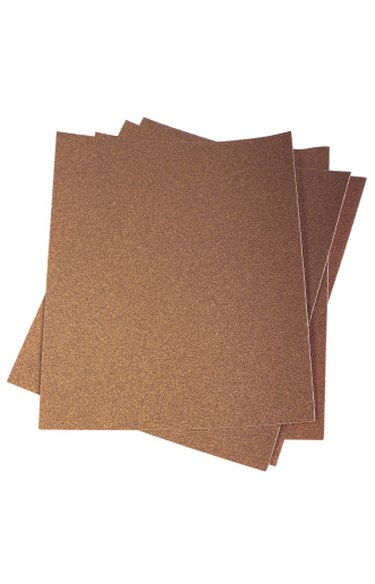
180-grit sandpaper
Masking paper
Professional painter's tape
Respirator
Acrylic spray primer
Galvanized metal etching spray primer
Appliance epoxy spray paint

If you plan to paint the interior of a freezer, consider some critical points before getting started. The inside of a freezer is composed of nonporous vinyl or metal. Each of these materials is poorly suited for adhesion and will reject brand new finishes unless they are properly conditioned. Employ the correct preparation strategy based on your freezer interior's composition. Apply the correct type of paint to the freezer interior, or the finish won't stand up to the harsh temperatures.
Step 1
Unplug your freezer and open the door. Wait for ice particles to thaw.
Video of the Day
Step 2
Use a sponge to wash the interior of the freezer with trisodium phosphate soap. Rinse the interior with wet rags and thoroughly dry it with towels.
Step 3
Abrade the interior of the freezer to promote adhesion. Sand the interior until it feels rough. Do not abrade metallic freezers.
Step 4
Use masking paper and tape to protect portions of the freezer that are to remain unpainted.
Step 5
Wear a respirator.
Step 6
Coat the freezer interior with acrylic spray primer. Condition metallic interiors with an etching spray primer. Maintain 8 inches between the interior and spray nozzle as you apply. Leave the door open. Wait three hours for the freezer to dry.
Step 7
Coat the freezer interior with appliance epoxy spray paint. Maintain 8 inches between the interior and spray nozzle as you apply the epoxy. Leave the door open. Wait three hours for the freezer to dry.
Warning
Never prime an unabraded vinyl or plastic freezer interior, or flaking will result.
Don't paint an unprimed freezer interior, or the finish will peel.
Don't use latex paint on a freezer interior, or the finish may not remain durable.
Video of the Day