Things You'll Need
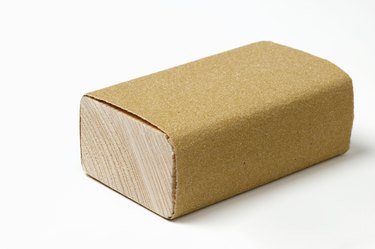
Sandpaper
Clean cloth
White glue
Paintbrush
Shellac

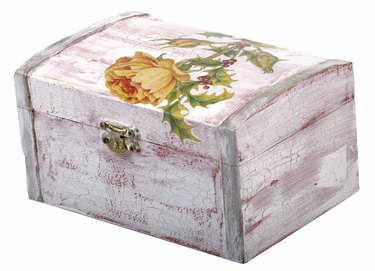
Decoupage, which originated in Asia during the 17th century, is the the act of permanently adhering a paper image to another surface with a sealant. Shellac makes an excellent sealant for this purpose, as it dries quickly and is more protective than glue alone. With a few basic supplies and some free time, even the novice can decorate furniture, picture frames and jewelry boxes with photos.
Decoupaging the Wood
Step 1

Prepare the wood surface. Sand away rough spots, old varnish and imperfections. Wipe clean with a damp cloth to remove any remaining sawdust.
Video of the Day
Step 2
Arrange photos on the wood surface. Select the best photos for the project. Arrange on wood until a desired effect is achieved.
Step 3
Glue the photos to the wood surface. Apply a small amount of white glue to the back of each photo. You may use a paintbrush to get even coverage. Press the photos into place on the wood. Smooth the photo down from the center outwards to remove air bubbles. Allow the glue to dry.
Step 4
Shellac the wood surface. Dip a clean paintbrush into the shellac. Using long, smooth strokes, brush a thin layer of shellac over the entire wood surface. Allow the shellac to dry. Repeat until the wood is covered with four to eight coats of shellac.
Tip
You can also use a simple glue stick to glue the photos in place.
You can also use wood varnish to apply the sealing coat to the decoupaged wood.
Warning
Work in a well-ventilated area.
Wear gloves and a mask for protection while working with sandpaper and shellac.
Video of the Day