Things You'll Need
Measuring tape
Pen or marker
Miter saw
C-clamps
Table
Hammer
Straight nails
Wood putty

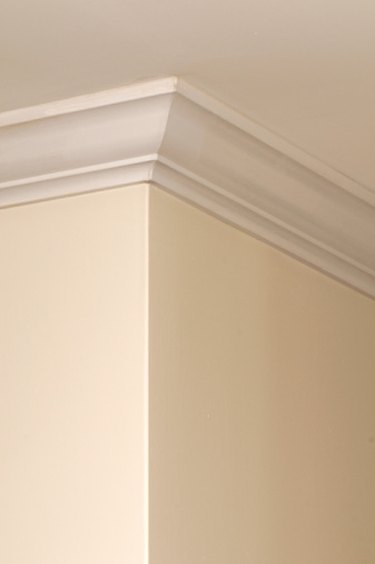
Installing crown molding around a ceiling can add a beautiful touch that instantly upgrades any room. But if you're trying to do the measuring and cutting on your own, it's absolutely crucial that you take your time and have the proper tools. Remember, the trick to getting the angles correct so that the molding lines up at the corners. One way to make this job easier is to tackle one corner at a time.
Step 1
Measure the perimeter of the ceiling where the molding is to be installed. Buy enough crown molding to fit the measured perimeter, plus a few extra feet to compensate for any mistakes.
Video of the Day
Step 2
Draw a plan for hanging the crown molding. Sketch the room where it will hang and highlight which corners are going to be the most visible. You will have two basic types of corners: inside and outside. Whichever corners are most visible are the ones you want to be extra careful lining up.
Step 3
Measure and cut a piece of crown molding that will have one flat end marking the end of the molding run. Hang it with a hammer and nails with all edges flush against the wall and any corners.
Step 4
Hold up a piece of crown molding to the wall next to the piece hanged. Put the end of the molding against the hanged molding and draw a line at a 45-degree angle where you're going to cut it to fit against the hanged molding. This line doesn't have to be perfect, it's just an estimate for now.
Step 5
Take the piece of molding and attach it to a table with C-clamps. Cut a 45-degree angle using a miter saw.
Step 6
Test the fit against the hanged molding. Make minor adjustments with a miter saw, or use a file and sandpaper to get the fit just right.
Step 7
Once the angle fits, look at the next corner. If it's an outside corner, cut the other side of the crown molding into a 45-degree angle. If it's an inside corner, leave the edge alone and just set it flush against the wall. Hang the molding with a hammer and nails.
Step 8
Cut the next piece of crown molding at a 45-degree angle and test the fit with the corner already hanged. Make minor adjustments with the miter saw, or use a file and sandpaper to get the fit just right. Keep repeating this step, and test each corner's fit before hanging the molding.
Tip
Use your fingers to apply wood putty to slightly imperfect corners. When the putty dries, sand it down and paint the crown molding.
Warning
Not all walls and ceilings are perfectly straight. This is one reason why crown molding must be done one corner at a time because your angles aren't always perfect. If you have an extremely slanted wall, consider using smaller pieces of crown molding and use wood putty to hide the seams after hanging.
Video of the Day