Things You'll Need
Jumbo zipper seal plastic bag
Freezer
Wool embroidery floss to match the blanket
Tapestry needle
Scissors

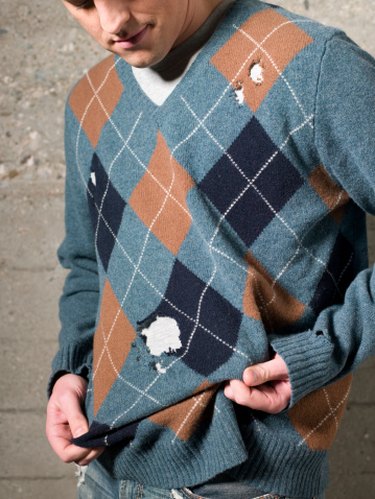
When you discover moth holes in a wool blanket or garment, you should repair the item right away. The more you handle it, the larger the holes will get. Also, check other wool or animal fiber items in your home to be sure the moth problem is not widespread. If you knit or spin, check your yarn and fiber. Holes are not caused by the actual flying moths; they are caused by moth larvae, so even if you don't see moths, look for bugs and damaged woolens.
Step 1
Place the wool blanket inside the zipper seal bag and close. Place the bag in the freezer. Leave the bag in the freezer for 24 hours to kill any remaining moth eggs or larvae.
Video of the Day
Step 2
Remove the blanket from the bag. Spread the blanket on a flat surface and identify the holes. While you may have initially noticed the larges hole, there may be smaller ones that need repair as well.
Step 3
Cut an 18-inch length of wool floss. Thread the tapestry needle. Tie a knot in the end of the floss.
Step 4
Carefully pull the edges of a hole together, then hand stitch in place with the needle and thread. Work slowly and make sure your stitches are at least a quarter inch from the edge of the hole.
Step 5
Tie a knot in the thread close to the blanket to secure, then trim the end with scissors. Repeat for any remaining holes.
Tip
If you can't find a wool embroidery floss that matches, pull a strand of fringe from the edge of a fringed wool blanket to make the repairs.
If the hole is too big to mend, cover it with an applique cut from a contrasting wool fabric
Warning
Do not wash or dry the wool blanket before repairing, doing so will enlarge the moth holes.
Don't use cotton thread to repair the wool blanket, wool stretches, but cotton doesn't, so an even bigger tear will form in the repaired area when you use the blanket.
Video of the Day