Things You'll Need
Ladder
Safety harness
Professional crayon
Claw hammer
Nail puller

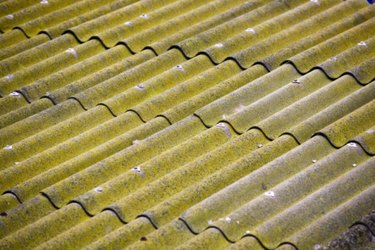
Corrugated roofing panels come in a variety of metals, including copper, galvanized steel and stainless steel. The main difference between the metals is price. All are long lasting, durable and require little maintenance. Using corrugated roofing adds an element of contemporary design to a home. Using dissimilar metals, whether for nailing or panels, will cause a galvanic reaction. A galvanic reaction causes the metal to degrade, forming holes and jagged-edged gapping. Removal of the incorrect nails is necessary to prevent further damage and degradation.
Step 1
Access the roof with a ladder. Use a safety harness when working on the roof to prevent falls.
Video of the Day
Step 2
Find the nail heads on the roof. Look along the edges of the corrugated panels. Corrugated roofing panels overlap each other, making the nails located along the eaves or ridge line the easiest to find. Circle or mark the nails with a professional crayon for easy location later.
Step 3
Place the claw end of a hammer up to the nail and push the hammer under the head to grip the nail. If the claw does not fit under the nail head, use a nail puller. Place the V-shaped end of the nail puller up to the nail and tap with a hammer to wedge it tightly under the nail head.
Step 4
Push the handle of the hammer or nail puller down to lift and free the nail.
Tip
Wear a hardhat, safety glasses and gloves while pulling roofing nails.
Replace dissimilar metal nails with similar metal screws. If you are replacing the nails, replace them with new ones as you pull the old ones.
Create patches for holes with fiberglass mesh screening and roofing tar.
Warning
Do not remove all the nails from one panel while sitting or standing on the panel. Sit or stand on an adjacent panel or ladder when removing the entire corrugated roofing panel.
Video of the Day