Things You'll Need
Tape measure
Shovel
Gravel
Stakes and builder's twine
Hand or mechanical compactor
Form board (optional)
Mortar
Trowel
Reinforcing bar

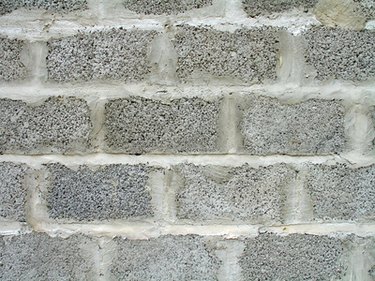
Cinder blocks and concrete blocks are relatives. Concrete blocks are made of cement, sand and fine gravel. Cinder blocks substitute coal cinders and ash for sand and gravel. They are the same size — roughly 8 inches by 8 inches by 16 inches — look much the same and can be used about the same in most construction projects. Cinder blocks are usually lighter and cheaper than concrete. Cinder blocks can be laid with mortar or dry-stacked — either method will produce a strong, substantial wall for a building or a retaining wall.
Step 1
Design your cinder block construction project carefully. If you're just building a retaining or privacy wall, that's pretty simple — just measure the dimensions. But if you're building a garage, shed or a house, make detailed plans showing placement of walls, including window and door openings, location for electrical, plumbing and other elements as well as the location of roof trusses. Draw a plan to scale and consult with electrical and plumbing professionals to finalize those installations. Some plumbing drains may have to be installed before you start work.
Video of the Day
Step 2
Build a foundation. Cinder block walls need a footing 8 to 12 inches deep and 16 inches wide; dig that trench, base it with firmly tamped gravel, then fill it with concrete and let it sit at least a day, preferably a week. If you plan to dry-stack cinder blocks, determine locations for reinforcing bar and set those upright when you pour the footing; the blocks will slide down over them. Make the top of your footing level.
Step 3
Outline your wall with stakes and builder's twine as a guide to keep blocks straight and level. For either mortared or dry-stacked walls, lay a first course in mortar. For mortared walls, "butter" the ends of blocks with mortar as you lay them; for dry-stack, set the cinder blocks in mortar on the footing, but butt the ends of the blocks tightly. Some blocks made especially for dry-stacking have tongue and groove surfaces which must be mated. Make sure this first course is absolutely straight and level. Mark your door and window locations to leave openings for framing and installation.
Step 4
Move up the wall, with either mortar or dry-stack. For dry-stack, work from ends to center on each course after the first. Overlap seams in the blocks; in a square or rectangular structure, alternate blocks at the ends so a course overlaps the previous one — be certain corners are square. Use string for straight and level guides as you go up.
Work around door and window locations, cutting blocks to fit; you can rent block cutters at most building supply stores. Install horizontal header blocks of wood or metal for windows and door tops as you work up, extending them into the wall at least half a block length. With dry-stack, when you reach finish height, pour concrete in cavities around vertical reinforcing bars.
Step 5
Pour a bond beam of concrete along the tops of the walls, inserting roof truss tie-down straps as you go. You may need to brace the walls with 2-by-4s temporarily while doing this. For a dry-stack cinder block wall, finish both sides with 1/8 inch of special surface-bonding cement, which includes fiber reinforcements, applied with a special sprayer or a trowel. Keep the cement dampened for a few days until it completely sets. Once either style wall has dried and set firmly, you can finish the outer surface with brick, stone facing or stucco.
Video of the Day