The skill of macrame dates back to the 13th century when Arabic weavers knotted excess yarn on hand-woven fabrics into elaborate fringes. Later, sailors helped to spread the craft around the world, using rope to make hammocks and belts.
Macrame gained mainstream popularity in the 1970's before fading out, but as is true with many trends, it is making a comeback. This project can be adjusted to fit any planter and it's perfect for beginners.
Video of the Day
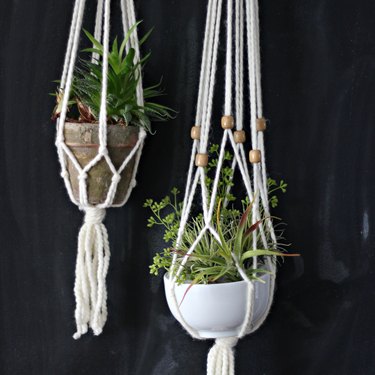
Watch the Video!
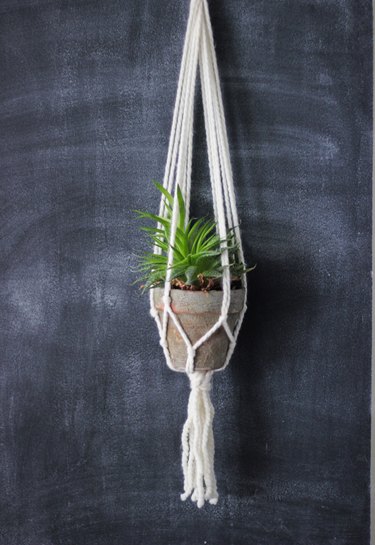
Things You'll Need
Chunky yarn or cotton filler cord
Beads (optional)
Craft Ring Scissors
12 toothpicks
Tape
Potted plant or glass bowl to place plant in
Step 1
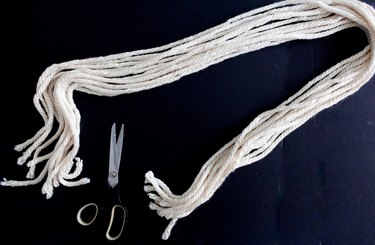
Measure and cut 12 strands of yarn (each measuring approximately 150 cm in length)
Step 2
Make the ends even and tie them into a large knot, leaving some yarn to hang from the end.

Step 3
Separate the strands into six pairs of 2.

Step 4
Tie each pair with a double knot approximately 5cm away from the main knot.

Step 5
Tie each strand to the next strand along, forming six pairs.

Step 6
Continue to tie pairs.
Step 7
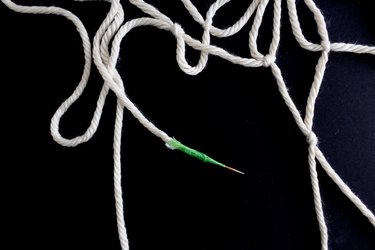
If you choose to add wooden beads, attach a toothpick to the end of each strand using tape. You can also wrap tape around the end of each strap.

Step 8
Thread a bead onto one strand and the same bead onto the next strand. Continue threading all remaining pairs using beads. Cut the toothpicks or tape off the ends of the strands.

Step 9
Thread all 12 strands through the craft ring and tie a knot to secure.

Step 10
Tie a large knot through craft ring.

Step 11
Cut a piece of yarn and wrap around the end of the strands as shown.

Step 12
Tie yarn around and trim excess.

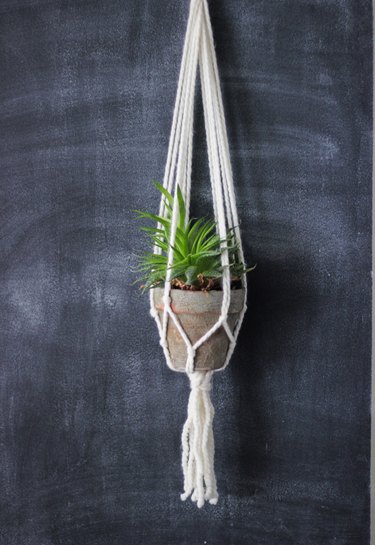
Screw a hook into the ceiling, and showcase your new hanging planter near a window or outside on your porch.