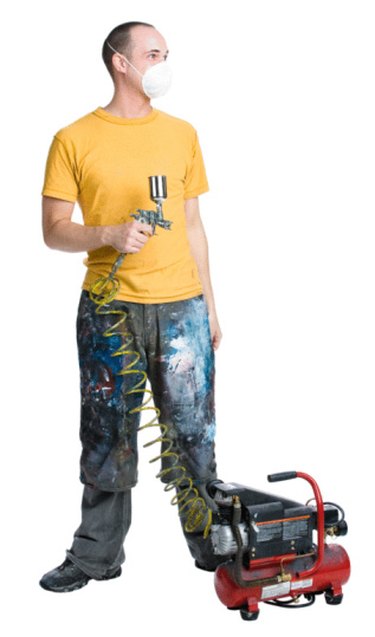
Paint sprayers are a wonderful aid to painting large areas quickly and efficiently. The problem with paint sprayers, however, is the nozzle through which the paint is actually sprayed. These nozzles have small openings through which the paint must travel, and these tiny openings can easily get clogged. They can become clogged if there are any impurities in the paint itself, or they can become clogged when paint left in the sprayer thickens or dries. Fortunately, there are relatively simple ways for homeowners to clean their Graco airless paint sprayers after each use and keep their sprayers working just like new every time.

Video of the Day
Things You'll Need
Warm Water
Paint Thinner
Dish Soap
How to Clean Water-Based Paint
Step 1
Clean your sprayer immediately after using. Replace the paint container with a container of warm water Spray this warm water through the gun, adding fresh water as necessary, until the spray coming out of your sprayer is clear. Do not run the same water through the sprayer twice.
Video of the Day
Step 2
Add 1 tbsp. of dish soap to the warm water and run a full cycle of warm, soapy water through the sprayer, making certain that the spray that comes out of the gun is clean.
Step 3
Take the sprayer apart and soak all parts in warm, soapy water. Rub parts gently with your fingers if necessary to loosen and remove any visible paint.
Step 4
Reassemble the sprayer and run plain warm water through the system if the gun will not be stored, but be used again regularly. If the sprayer is to be stored, especially over winter where it might freeze, run a small amount of paint thinner (never lacquer thinner) through the sprayer to remove any water which could freeze.
Step 5
Soak any filters in warm soapy water as well, rubbing them gently with your fingers to get them as clean as possible. Rinse filters with running warm water to remove any soap once they are clean and allow them to air dry.
How to Clean Oil-Based Paint
Step 1
Remove the paint canister and replace it with a can or jar of paint thinner (never lacquer thinner, which could damage internal parts of the sprayer). Run paint thinner through the sprayer until the thinner comes of the sprayer clean. Do not run the same thinner through the sprayer more than once.
Step 2
Take the sprayer apart and soak all of the parts in paint thinner. Rub parts gently with your fingers to remove any paint if necessary.
Step 3
Soak any filters in paint thinner and rub them gently with your fingers if necessary to remove any last vestiges of paint. Rinse the filter in paint thinner and allow the filter to air dry.
Step 4
Reassemble the sprayer.
Tip
It is an excellent idea to have extra O-rings and spray tips on hand as these parts frequently need replacement, rather than a simple cleaning to keep your machine running like-new.
Many Graco sprayers have a "wet cup" that must be kept one-third full of Throat Seal Liquid (TSL) in order to work properly. Consult your owner's manual.
Some Graco airless sprayers have a hose attachment which can be used to aid in cleaning water-based paints (but not oil-based paints or stains).