Things You'll Need
Pencil
Cardboard
Sharp scissors or a mat knife
Masking tape (optional)
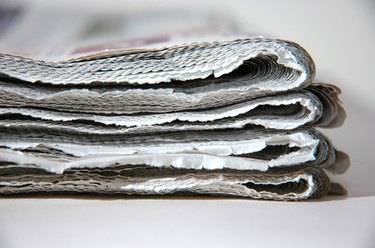
Old newspapers
Large bowl, at least 2-quart size
All-purpose flour
Water
Wooden spoon
Salt
Large screw-top jar
Plastic work surface (tablecloth or tray)
Acrylic paints
Paintbrush

Paper mache gets its name from the French "papier maché," meaning chewed paper. In the 16th and 17th centuries, French women artisans bought excess paper from publishers and actually chewed it to get the desired consistency. It's much easier -- and more hygienic -- nowadays.
In fact, paper mache is one of the most inexpensive and forgiving arts and crafts materials. It can be chopped into a fine pulp and worked like clay by professional artists or it can be worked more simply in strips. Making a star is a project that even a preschooler can enjoy.
Video of the Day
Step 1
Draw a star design on the cardboard. For an outline star, draw another star shape about 1/2 inch inside the first.
Step 2
Cut out the star with a sharp pair of scissors or a mat knife and set it aside.
Step 3
Tear the newspaper into long, thin strips about 1 inch wide and set the strips aside.
Step 4
Mix one part flour with two parts water in the large bowl.
Step 5
Stir with the wooden spoon until the mixture is smooth and resembles thick cream.
Step 6
Stir in one or two teaspoons of salt to prevent the formation of mold.
Step 7
Spread a plastic tablecloth on the work surface or, for small projects, work on a plastic tray.
Step 8
Submerge strips of paper in the paste, one or two at a time.
Step 9
Remove one strip of paste-soaked paper from the bowl and squeeze out excess paste by pressing the flat strip between two fingers.
Step 10
Drape the wet paper on the cardboard base and smooth it in place.
Step 11
Continue covering the form with strips of wet newspaper, overlapping the edges, until the entire form is covered with one layer of paper mache. Allow it to dry overnight.
Step 12
Repeat step 11, allowing the star to dry overnight between each layer of paper mache, until the desired size and shape is achieved.
Step 13
Allow the finished star to dry thoroughly (at least overnight) before painting with acrylic paints.
Tip
Newspaper should be torn into strips rather than cut, as this makes the final finish smoother.
Strips should be no shorter than 2 inches but can be longer, depending on the size of your project.
Exact amounts of flour and water will vary depending on the size and ambition of your project.
To make a fatter star, crumple a piece of newspaper and form it around the cut-out, cardboard base or stuff it into the center of the cardboard outline. Use masking tape to hold it in the shape you choose.
In between layers, while the star is drying, store the excess paste in a screw-top jar in the refrigerator.
Warning
Using a mat knife with a razor-sharp point is a job for an adult.
Don't soak more than one or two strips of paper in the paste at the same time. Newspaper is soft and will disintegrate if left in the paste solution for too long.
Video of the Day