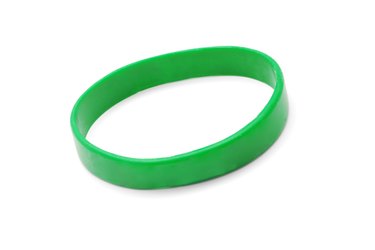
Rubber wristbands are worn and shared for friendship, inspiration, charitable causes and just as fun fashion. But they are easily snapped or torn when removed. If you have a broken wristband, you can easily repair it, provided you choose the right glue and technique. Since rubber is flexible, the glue you choose needs to withstand movement without cracking under pressure. A cyanoacrylate instant adhesive -- more commonly called a super glue -- is the best choice for rubber wristband repair.
Clean the Wristband
Video of the Day
Wearing the band on your wrist exposes it to plenty of oil and dirt -- from the naturally occurring oils on your skin to the grime of everyday life. Clean the wristband with rubbing alcohol and allow it to dry completely; use a paper towel to apply the alcohol to all bracelet surfaces, then let air-dry.
Video of the Day
Sand the Edges
Rough up the torn edges of the band with sandpaper or an emery nail file. Abrading the edges creates a rough surface for the glue to cling to.
Glue the Edges
Hold the wristband in one hand, keeping your fingers at least an inch from the torn edge. Carefully open the glue and apply to one edge of the wristband, avoiding your fingers. Cover the filed torn end with glue and quickly press the second edge to the first, lining up any pattern or lettering. Hold in place for 60 seconds, then place on waxed paper to dry. Wait 24 hours for the glue to fully cure before wearing the repaired wristband.