Things You'll Need
Screwdrivers
Single-pole 15-amp circuit breaker
Sheathed cable bushing
14-gauge sheathed cable
Cable Stripper
Switch wiring box
Single-pole switch
Long-nose pliers
Wire nuts

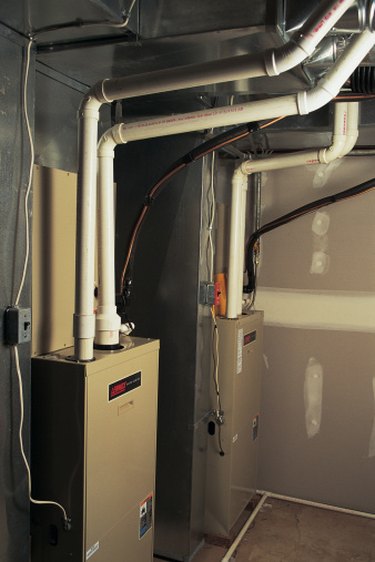
The blower and control circuit for a modern gas furnace uses its own 110 to 125 volt circuit breaker. A single sheathed cable runs from the circuit breaker to a single-pole light switch located next to the furnace. The switch connects to the furnace inside a wiring box. The furnace uses the power directly to run the blower motor and also converts some of the current to low voltage for electronic controls and circuits.
Step 1
Turn off the main circuit breaker in the service panel, remove the cover screws and open the panel. Do not touch the large wires coming from the meter or the terminals they attach to--these wires are always live.
Video of the Day
Step 2
Move the switch on the new circuit breaker to the off position. Hook the back of the circuit breaker on the service panel's metal tab and press the circuit breaker into place.
Step 3
Remove a knock-out plug from the service panel with a screwdriver and pliers and insert a sheathed cable bushing. Strip about two feet of sheathing from the sheathed cable and insert the cable into the panel through the bushing.
Step 4
Strip 3/8 inch of insulation from the black and white cable wires. Install the bare ground on the ground bus with the rest of the ground wires by inserting the wire into a terminal and tightening the screw. Install the white wire on the neutral bus with the other white wires the same way. Insert the black wire in the new circuit breaker terminal and tighten the screw.
Step 5
Remove a knock-out from the panel cover to accommodate the new circuit breaker and re-install the cover with the screws.
Step 6
Install the switch wiring box close to and within sight of the furnace wiring box. Route the cable from the service panel to the switch wiring box. Route a second cable from the switch wiring box to the furnace wiring box. Strip 6 inches of sheathing from the ends of the cables and insert them into the switch wiring box.
Step 7
Strip 3/4 inches of insulation from the wires inside the switch wiring box. Twist the two ground wires together, leaving the end of one free. Turn the free end into a 180-degree bend and place the bend clockwise around the green switch ground terminal. Tighten the ground terminal.
Step 8
Twist the two white wires together and screw on a wire nut. Turn the ends of the black wires into a 180-degree bend. Place the bends clockwise around the switch terminals and tighten the terminals. Install the switch in the wiring box with the two supplied screws. Install the cover plate over the switch box with the supplied screws.
Step 9
Strip 6 inches of sheathing from the cable and insert it into the furnace wiring box. Strip 3/4 inches of insulation from the two wires. Turn the ends of all three wires into a 180-degree bend. Loosen the three terminals inside the furnace wiring box. Wrap the bare ground wire clockwise around the green terminal screw. Wrap the white wire clockwise around the silver terminal screw. Wrap the black wire clockwise around the brass terminal screw. Tighten all three screws firmly and replace the cover.
Tip
National Electric Code requires the switch to be within sight of the furnace wiring box.
Turn on the circuit breaker for the furnace when the furnace installation is complete. The switch must be on the "on" position for the furnace to function.
Warning
Always work with the main circuit breaker off inside the service panel, and the branch circuit off when working on a branch circuit.
Video of the Day