Things You'll Need
Hammer
Needle-nosed pliers
Small board
Screwdriver
Flat-headed screw
Center punch
Sealant

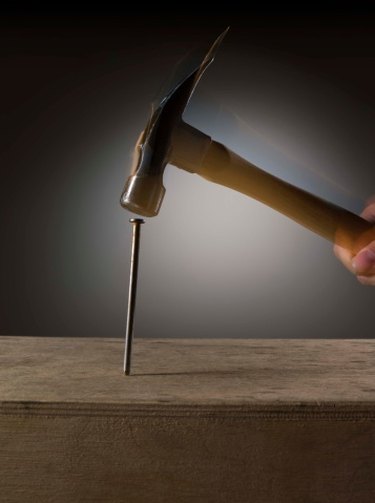
A nail pop occurs when a nail becomes loosened, usually from being hammered into green wood that changes shape as it dries. Nail pops are unsightly and unsafe. They not only make your floor look bad, but they can also cause you to trip and can allow dirt and liquid to get under your flooring. Fortunately, nail pops are usually easy to fix.
Step 1
Check the popped area to see if the nail head is exposed. Run your hand carefully over the area to see if you can feel the nail. You can also shine a bright light at an angle to view the floor and see if the nail head is exposed.
Video of the Day
Step 2
Pull an exposed nail from the floor by using either a claw hammer or needle-nosed pliers. It is not always possible to remove a nail without damaging the floor, so use caution. If the nail cannot be removed without causing problems, it is best to drive it back in and leave it.
Step 3
Pound an unexposed nail back down. If the nail is not exposed but has popped up and is lifting the floor, lay a piece of board over the spot and gently tap the nail back into place. The head of the nail may cause damage to the floor no matter how carefully you do this, but the board helps to minimize that damage.
Step 4
Screw a new screw into a beam near the location of the nail pop. Use a screw with a head color that matches your flooring as closely as possible. Line it up with the nails already securing the flooring so that it does not stand out as an obvious repair.
Step 5
Seal the area where the screw was added, if necessary. Many times this is not required, but if you removed a nail it may have left a hole that requires filling with a sealant appropriate for the surface to prevent liquid from seeping under the flooring.
Tip
For wooden floors, use a good scratch-repair product once the popped nail is repaired in order to better disguise the work you have done.
Warning
Use a center punch and hammer to tap the nail back into place. This avoids making hammer marks on your floor. Most likely the nail will not hold, so follow the procedures detailed in Steps 4 and 5 to prevent it from popping out again. Many types of flooring do not use nails, so be sure you are actually dealing with a nail pop before attempting repairs.
Video of the Day