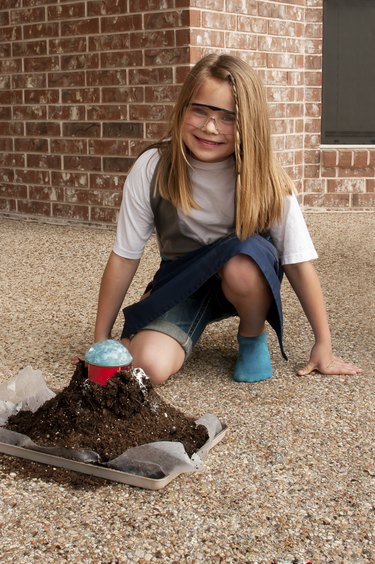
When your child has to create a landform model for a school project, don't just throw some salt dough on top of a sheet of cardboard and call it a day. Help your child take her science project to the next level by creating realistic-looking homemade landforms that have that "wow" factor.
Create the Landform Base
Video of the Day
Find a large cookie sheet, glass casserole dish or a plastic tray as the base for your landforms. This kind of base allows you to have chemical interactions in your landforms on a spill-proof display that you can use again and again. If you do not want to ruin your nice cookie sheet, pick up a cheap one at a thrift store or yard sale. To add a volcano, duct tape a section of PVC pipe upright somewhere on the tray, making sure to seal the bottom of the tube to the tray with tape. Duct tape adheres to metal, glass and plastic and will prevent leakage.
Video of the Day
Prepare the Landform Mixture With Flour
In a large bowl, thoroughly mix together two parts flour, one part water and one part salt. Add more water or flour to the mixture until you achieve a spreadable and malleable consistency. Sculpt the mixture on the base of the tray, dish or cookie sheet using your hands to form channels for rivers, recessed areas for lakes, islands, hills and mountains; mold the mixture up the PVC tube to complete the volcano. Keep the top of the PVC tube open. Allow the landform display to dry completely before moving on. Allow it to air-dry for at least 12 hours.
Prepare the Landform Mixture With Clay
If you prefer, create your landform using air-drying clay that you can find at any craft store. After taping the PVC tube onto the tray, dish or cookie sheet, sculpt the air-drying clay into the forms that you want and up the sides of the PVC tube like a volcano if desired. Since air-drying clay will dry and harden very quickly, typically within a couple of hours, plan how you want your landforms to look before you begin sculpting. Once you're satisfied, allow the clay to dry completely before decorating the landform.
Paint and Embellish
Paint the exterior of the dried landform using acrylic or tempera paint. Use natural, muted mixtures of brown, green and tan to make the display look more realistic, and paint the lakes and rivers with shades of blue. Add a little red, orange and yellow paint at the top of the volcano if you prefer, and allow the paint to drip down the sides like flowing lava. While still wet, sprinkle real sand over the tan "beach" and "desert" areas. Sprinkle dried moss over the green grassy areas of the landform. Allow the paint to dry; then dust off any excess sand and moss. Hot-glue realistic model trees around the landform display, which you can find in the model train section of any hobby store.
Prepare Any "Explosions"
If you decide to include a volcano in your landform display, combine 1/2 cup of baking soda and 10 drops of red food coloring in a small bowl, and mix thoroughly with a spoon. Pour all of the baking soda mixture into the PVC pipe. To produce the volcanic eruption, pour 1/2 cup of white vinegar into the PVC pipe and watch red "lava" flow out of the top.