Things You'll Need
Screwdriver
Hacksaw
Pliers
Plastic wire insulation caps (optional)

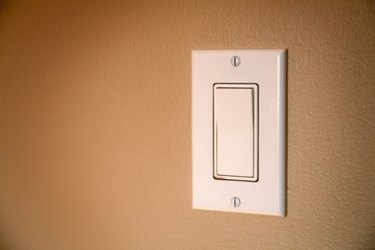
A switch box is a hollow metal frame that sits inside the wall behind a light switch and holds the switch's electrical wiring. If you no longer use a light switch, you can remove it from the wall along with the underlying switch box. The process only requires basic tools to perform, but you must use care when working with electricity.
Step 1
Go to the main fuse box for the home and turn off all the power to the room you are removing the switch box from.
Video of the Day
Step 2
Locate the screw or screws on the outer face of the light switch. Turn the screws counterclockwise with a screwdriver and pull the light switch cover off of the wall.
Step 3
Look at the top and bottom of the light switch assembly in the wall to locate two more screws. Turn them counterclockwise with the screwdriver to remove them.
Step 4
Gently pull the light switch assembly out of the wall so that you can see the wires on the back.
Step 5
Locate the screw that holds the black wire onto the switch and loosen it with the screwdriver. The screw does not come all the way off. Pull the black wire away from the light switch assembly.
Step 6
Repeat the procedure to loosen the other screw on the assembly and remove the white wire.
Step 7
Pull the light switch assembly out of the wall and set it aside.
Step 8
Insert a thin hacksaw blade in between the drywall and the side of the metal switch box. Saw down along the side of the box to cut through the nails or screws holding it in place. Repeat the process on each remaining side of the switch box to cut through the other screws or nails.
Step 9
Grasp the metal box with your fingers, or a pair of pliers, and pull it out from the wall.
Tip
If you are not installing a new switch box box immediately, place plastic wire caps on the end of each wire to insulate them before turning the power back on.
Video of the Day