Things You'll Need
Allen key
Screwdriver
Wrench

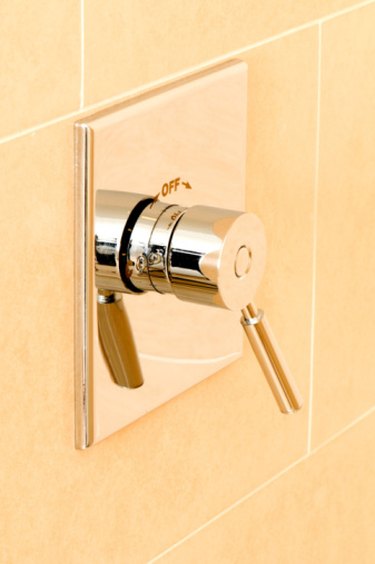
Delta is a manufacturer of shower and bath products. Shower valves from Delta come in two types: double- and single-handled. The single-handle variety uses a cartridge system. The handle of the product slips over the cartridge. When the handle turns, the cartridge turns with the handle, controlling the flow and temperature of the water. Delta marks its parts to make installation easier. The novice home plumber can usually complete a Delta faucet valve install in an hour or two.
Step 1
Turn off the water supply to the bathroom area at the water main in your basement, or outside the home.
Video of the Day
Step 2
Remove any handle currently on the shower wall by prying off the cap of the handle and removing the screw. If there is no cap, remove the Allen screw from the base of the handle using an Allen wrench. Pull out the current cartridge by removing the washer from the end. Pull up on the retaining clip using the flat end of a screwdriver. Wiggle the cartridge back and forth using a wrench to remove it from the valve.
Step 3
Turn the new Delta cartridge so the words reading "hot side" are on the left hand side of the shower. Align the end of the cartridge with the holes inside the valve and push the cartridge in.
Step 4
Slide the included O-ring over the cartridge, as well as the bonnet nut. These two pieces just slide on.
Step 5
Push the sleeve on to the cartridge until it fits tight. Place the handle over the sleeve and insert the Allen screw into the handle. Tighten the Allen screw down using an Allen wrench.
Step 6
Turn on the water and test the shower.
Tip
Adjust the water limit knob on the end of the cartridge if the water comes out of the shower head too hot. Markings on the cartridge show you the correct direction to turn the limiter according to the water heat.
Video of the Day