Things You'll Need
Screwdriver
Replacement doorbell button assembly

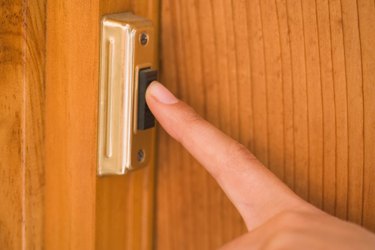
A stuck doorbell button will prevent it from functioning properly. The button is likely worn out from use and weather exposure. Even though it is wired electrically, it is a project that the average homeowner can accomplish. The voltage is low and therefore doesn't even require shutting the power off. It is important to repair your broken doorbell so that you will know when visitors and deliveries arrive at your door. A doorbell is an important part of your home's exterior and should be maintained at all times.
Step 1
Unscrew the doorbell screws that go through the doorbell button assembly into the exterior of your house with a screwdriver.
Video of the Day
Step 2
Lift the doorbell button assembly off of the exterior of your house. Sometimes, layers of paint may cause it to stick, so you may need to exert some pressure until the paint seal is broken.
Step 3
Remove the screws on the backside of the doorbell button assembly that hold the two wires in place. Remove the wires from around the screws. They are very low-voltage, so you do not have to worry about electric shock.
Step 4
Hold the replacement doorbell button assembly near the exterior of the house where it will be installed. Connect the wires in place around the screws on the back side of the replacement unit. Tighten the screws with a screwdriver.
Step 5
Position the replacement doorbell button assembly in place on the exterior of your home. Drive the provided screws through the mounting holes in the assembly into the exterior of your home to secure it in place.
Tip
Keep your doorbell button assembly in an area of your exterior that is covered so that it will be protected from harsh weather that may cause it to wear and stick.
Warning
Wear eye protection when using a screwdriver.
Video of the Day