Things You'll Need
1/2-inch-by-1/2-inch wooden beading
2-by-4 lumber
Tape measure
Pencil
Protractor
Wood glue
8 3-inch nails
1-inch nails
Window putty
Glazier's points
Glazier's tool
Putty knife
Router
Circular saw
Hammer
Glass cut to size
Window furniture

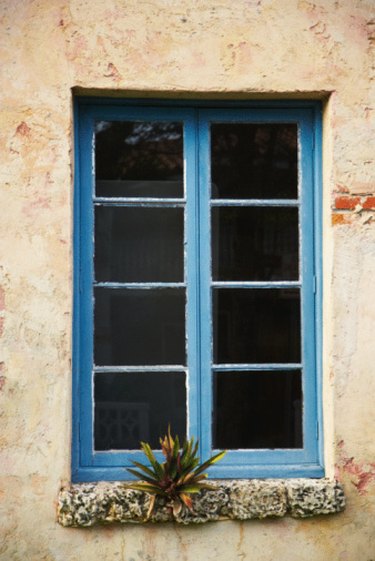
Casement windows have their hinges fitted to one side and open outwards.They are an alternative to sash windows, and are easier and cheaper to make and install. Replacing your casement windows due to rot or damage can be a costly job if you hire a glazing professional. If you have good DIY skills, doing the job yourself can be rewarding and a lot less costly.
Step 1
Measure the width of the window frame where the casement is to be fitted. Take three measurements, one at the top, one at the bottom and one across the middle. Note down the shortest measurement as this will be the width of the casement.
Video of the Day
Step 2
Measure the height of the window frame taking three measurements, one in the middle and one at each end. The shortest length is used for the total height of the casement to ensure it fits into the window frame.
Step 3
Cut the wood to length to make the casement frame using a circular saw. Cut two pieces equal to the width and two to the height measurements taken. Draw a line at a 45-degree angle using a protractor and the pencil at each end of the wood lengths. Cut along the line to make a mitered corner in each end of each piece of wood.
Step 4
Apply wood glue on each mitered corner and assemble the pieces together to form the frame of the window. Allow the glue to harden and hammer two 3-inch nails at each corner to add strength to the joins.
Step 5
Measure the inside width and height of the casement. Cut the 1/2-inch-by-1/2-inch beading into four pieces, two lengths equaling the inside width and two the inside height measurement of the frame. Apply wood glue to each length of beading and fit to the inside of the frame 3/4 inch from one edge. Secure the beading in place with 1-inch nails.
Step 6
Gouge a 1/4 inch channel all the way around the outside of the casement using a router. The channel should be in line with the beading on the inner edge of the casement frame . This channel helps stop water from building up between the casement and window frame during a rain storm.
Step 7
Lay the casement frame flat on the floor. Apply glass putty along the corner between the frame and the beading. Use your thumb to press the putty into the join between the two. The putty should be no more than 1/8-inch thick.
Step 8
Lay the glass window panel into the frame and press the edges firmly into the putty. Insert glazier's points around the frame and flat against the glass at 8-inch intervals. Slide the special glazier's tool along the glass and tap the points in place to prevent hitting and breaking the window.
Step 9
Run a bead of putty all the way around the join between the glass and the casement frame. Press the putty firmly in place with your thumb. Smooth the putty down using a putty knife using long strokes all the way around the frame. Turn the casement over and fit the hinges, arm, and latch of your choice.
Warning
Wear protective gloves when handling glass.
Video of the Day