Things You'll Need
Measuring tape
Fabric
Scissors
Hot-glue gun

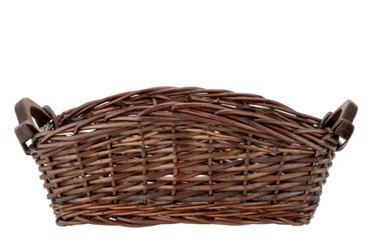
You can find fabric-lined wicker baskets at most craft or home stores, but you can easily line the ones you already have at home. By lining your own, you can pick the fabric colors and pattern you like most. Use the baskets for storage, decoration or to hold laundry. You do not have to be an accomplished sewer to make the linings; in fact, you can skip the sewing and simply pin or glue the fabric in place.
Step 1
Measure around the basket, making sure to also measure the height of all four sides. Add about two inches to the length measurement and five inches to the height to account for the liner overhang and the glued seams.
Video of the Day
Step 2
Measure the bottom of the basket in the opposite direction, adding two inches to your measurements.
Step 3
Cut two pieces of fabric to match your measurements. Use pinking shears instead of regular scissors so the edges of the fabric won't fray.
Step 4
Glue the bottom piece into the bottom of the basket. The edges will come up the sides a little; that is OK.
Step 5
Wrap the long piece of fabric around the sides on the inside; glue it to the basket along the corner seams. Press the fabric in firmly and overlap the bottom a little. The fabric will extend over the top edge of the basket about four inches. Dab a little glue at the top of the four corners of the basket and press the fabric down to ensure that it does not fall back down into the basket.
Tip
Tie a ribbon around the basket to add color and visual interest. If you don't want to glue your basket, simply sew the pieces of fabric together at the bottom, make a casing at the top and slide a drawstring through it to hold it tight in the basket.
Video of the Day