Things You'll Need
36-grit sandpaper
Power sander
Broom
100-grit sandpaper
Pressure washer
Canvas drop cloths
Oil-based stain
3- to 4-inch natural-bristled paintbrush
Rags
Mineral spirits
Solvent-based polyurethane

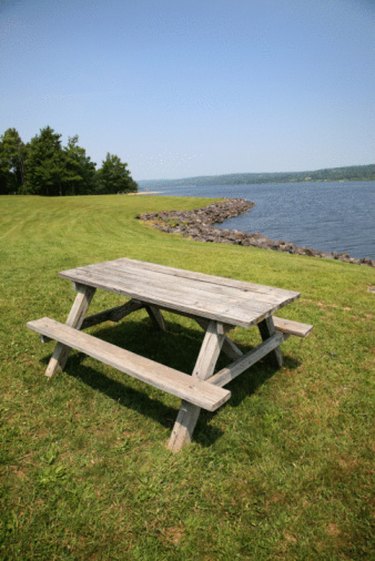
An oil-based wood finish can bring new beauty to an older picnic table and add years to its life. Over time, existing finishes may fade and wear, leaving the wood exposed and discolored. If the finish on your wooden picnic table is nearing its end, rejuvenate the table by sanding it and applying fresh stain and wood sealer. But, be warned, failure to eliminate all traces of the existing sealer before getting started may leave you with a poor result.
Step 1
Sand the wooden picnic table, using a power sander equipped with a very coarse 36-grit sandpaper. Move the power sander along with the picnic table's wood grain, or damage may occur.
Video of the Day
Step 2
Dust the picnic table, using a broom.
Step 3
Sand the wooden picnic table a second time. This time, use a finer 100-grit sandpaper.
Step 4
Wash the wooden picnic table, using a pressure washer. Let the table dry under the sun for a full day.
Step 5
Place a canvas drop cloth beneath the table.
Step 6
Apply one coat of oil-based stain. Don't use the same synthetic paintbrushes that you use to apply latex paint; instead, choose a brush that has natural bristles. Brush the stain on and then immediately wipe the wet finish from the picnic table, using rags. Let the table dry under the sun for three hours.
Step 7
Wash the stain out of the brush, using mineral spirits.
Step 8
Add a solvent-based polyurethane sealer to the wooden picnic table, using the natural bristle brush. Prevent sags and runs by brushing along the wood grain. Let the table dry for two hours.
Video of the Day