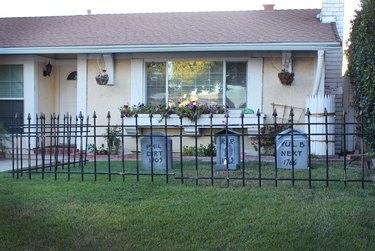
A rusty Halloween cemetery fence adds a gritty realness to any graveyard setting, but store-bought fences can be quite expensive. Instead, build an affordable and eerily believable fence using PVC pipes and one-by-twos, or even scrap lumber. This way, your yard will be haunted, but your wallet will not get spooked.
Things You'll Need
12 pieces of 1/2-inch PVC pipe measuring 10 feet long
9 pieces of one-by-two wood measuring 8 feet long.
Pipe cutter
Power drill
1/2-inch hole saw
7/8-inch drill bit
1 gallon flat black paint or black spray paint
Spray gun
Hammered copper-colored spray paint
Black foam sheet
Scissors
Hot glue gun
6 pieces of 3/8-inch rebar measuring 2 feet long
Video of the Day
Tip
The supplies listed are enough to create three separate Halloween cemetery fences, which you can set up end-to-end to create one long fence, or create a small boxed-in graveyard.
Cut the PVC Pipes
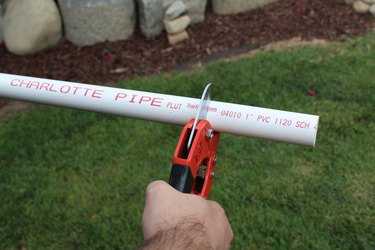
Cut all of your PVC pipes into 36 separate pieces that are 3 feet each in length.
Video of the Day
Drill Holes in the Wood
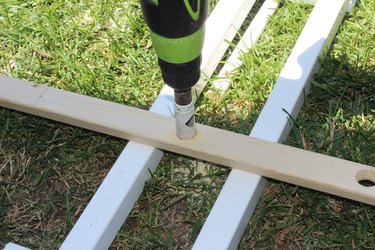
Use the power drill and 1/2-inch hole saw to cut out holes in each of your one-by-twos. Start at 4 inches up from one end of the wood and cut another hole every 8 inches. Doing this should leave you with another 4 inches leftover on the other end of the wood, so if you decide to connect the fences end-to-end, the pipes will be the same distance from each other.
Pre-drill Pilot Holes for Screws
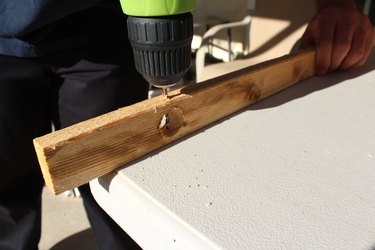
Use the drill bit to pre-drill pilot holes where the screws will go to hold the PVC pipes in place, once they are inserted into the wood. Along one side of the one-by-twos, drill a pilot hole through the wood and into each of the 1/2-inch holes. Three of the wood pieces will not need holes drilled on both ends.
Insert PVC Pipes Into the Wood
Choose which side of the pipe will be the top, and make a mark about 5 inches down from the top. This will be where the first tier of wood will be placed. Do this again another 5 inches down for the second tier of wood. The last tier will be placed 5 inches up from the bottom. Mark all of the pipes.
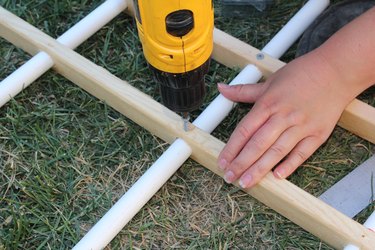
Insert the PVC pipes into the holes in the wood pieces, matching the tiers up with the markings, and drill a screw into each pilot hole on the first and second tiers. For the third tier, drill a screw into each hole except for the two PVC pipes at either end. These end pieces are where you will insert the rebar later, so you don't want a screw to block the opening inside the pipes.
Paint Your DIY Halloween Fence
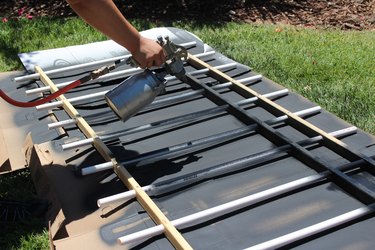
Now it's time to paint your fence. Start by painting it with the flat black paint using the paint gun or a can of spray paint. Once it is dry, use the copper spray paint to give the fence an old rusty look. Spray it sparingly at certain points on the fence. You can even spray from a farther distance to give it an eerie hue.
Cut Out Finial Designs
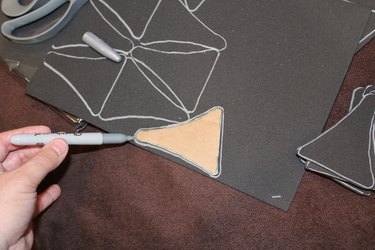
Either freehand a finial shape (spikes tend to work best), or find one online that suits your fence best and print out the design. Cut out the finial and trace it onto the black foam sheet. You will need to draw and cut out 72 finial pieces.
Attach Finials to the Fence
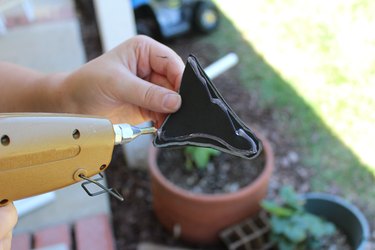
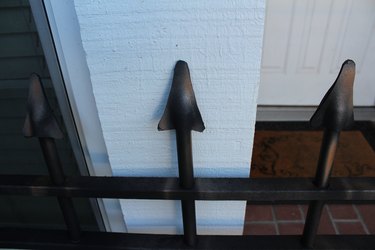
Hot glue the sides of two finials together, but leave the bottom open so you can slide the opening over the tops of the PVC pipes on the fence. Once you have your 36 finials assembled, place each one on top of a PVC pipe (after the paint has fully dried). You can also spray a little copper paint on some of the finials to give them a rusty finish.
Install the Fence
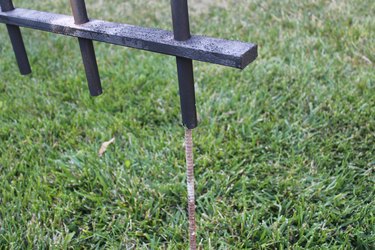
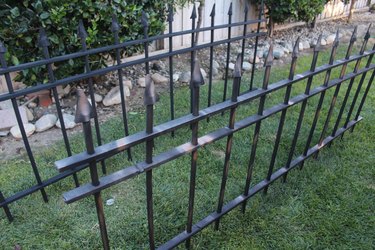
Keeping the Halloween cemetery fence upright is where the rebar comes into play. Place the first fence segment where you would like it, and mark the ground where the pipes on either end of the fence are sitting. Set the fence aside for a moment and hammer the rebar pieces into the markings on the grass. Now place the pipes on either end of the fence over the rebar, and it will remain standing. Continue this process for the rest of the fences you created.
Decorate Your Fence
To create a chillingly spooky atmosphere, decorate the fenced area with some cardboard tombstones or other festive Halloween decorations.
