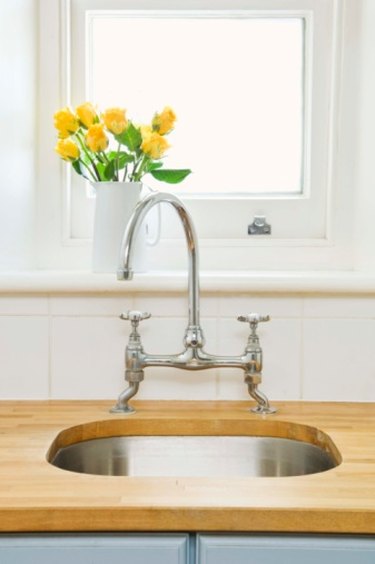
The Brita Filter Faucet mount is a device that connects directly to your sink faucet and contains a Brita water filter inside it. The water flows directly from the faucet through the filter before coming out of the filter into your drinking glass. If not properly installed or fitted, the filter unit can leak or fall off the faucet completely. Proper installation is required to ensure the filter works and stays mounted to the faucet tip.
Step 1
Untwist or slide off the Brita faucet filter unit from the faucet. Remove the aerator from the faucet tip if it's still in place. The aerator is a small piece on the bottom of the tip of the faucet. Grasp the bottom of it and twist until it comes off. Brita faucet filters will not stay on if the aerator is in place.
Video of the Day
Step 2
Replace the filter unit back onto the faucet.
Step 3
Inspect the tip of the faucet looking at the threading around the sides of the tip. If the threading isn't visible, it's on the inside. This means the filter unit can't securely screw into place and needs an adapter.
Step 4
Take one of the adapters that came with the Brita faucet filter that screws into the faucet tip. Place one of the included rubber washers of the same size into the top portion of the filter unit where the filter unit connects to the faucet. Screw the adapter onto the faucet tip.
Step 5
Screw the filter unit tightly onto the adapter connected to the faucet tip. Turn on the water to verify the adapter is the proper size and securely in place. If water leaks out, remove the entire unit, and install another adapter or readjust the existing one before putting the Brita unit back in place.
Warning
Don't force an adapter into place or screw the filter unit too tightly as this can cause the plastic of the unit or adapter to crack.
Video of the Day