Things You'll Need
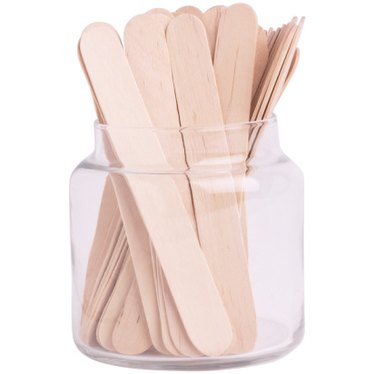
Craft sticks (1000 count)
4 sheets paper
Wood glue
Marble
Cardboard
Scissors

Designing and constructing a craft stick roller coaster is an enjoyable way to learn about physics and centrifugal force. This task will not only entertain the builders but also educate them. The roller coaster tools can come prepackaged at a local craft store or you can create your own design from home with a variety of homemade products.
Step 1
Design a pattern for your project on paper.
Video of the Day
Step 2
Lay craft sticks out and begin to create the side rails of your design. The side rails should be roughly 2 inches apart.
Step 3
Make a base for support by crossing or making an X shape with the sticks. Place the base under your side rails to create the track design.
Step 4
Glue the side rails and the base together. Continue until you have created your entire track.
Step 5
Connect your roller coaster together once the glue has fully dried. Add hills and construct sides to help support the coaster as you build it up. Start with your base and carefully add on each level in layers.
Step 6
Cut paper to lie evenly on the track. This is the support for the marble to roll along the track. Once cut, connect to the track with glue.
Step 7
Measure, cut and glue cardboard to the sides of your roller coaster to give extra support to your structure.
Step 8
Roll your marble down the coaster, starting from the top of the roller coaster.
Tip
Use a small marble. Different sized marbles will impact the marble's speed on the tracks but you also must consider the weight on the roller coaster. Attaching cardboard under the base will also apply extra support. This is a must if the roller coaster needs to be moved. Double the craft sticks on the base for extra support.
Video of the Day