Things You'll Need
Number two pencil
Acrylic or oil paint
Thinner
Art brushes

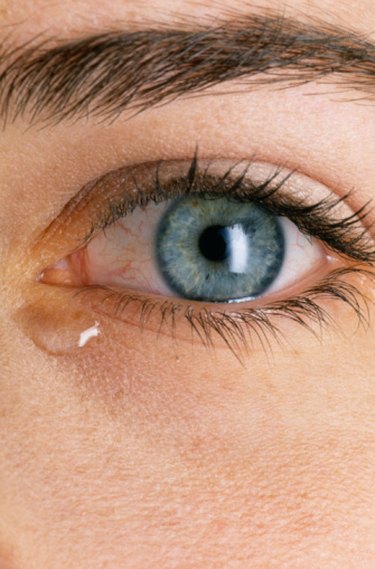
Painting translucent surfaces can be challenging the first time. A tear drop is clear, but must have some color in a painting in order to be seen. The background must also be visible to achieve the "clear" look you want. This can be achieved by completing the background art first, then applying thinned layers on top to create the illusion of a clear tear drop on top of the skin. Working through it one step at a time is the key to keeping this project from feeling overwhelming.
Step 1
Paint your subject as you normally would, including the flesh tones of the face where the tear drops will be painted. Allow the paint to cure completely. Wait two hours for acrylics, or other water-based paints, and overnight for oils.
Video of the Day
Step 2
Sketch the tear drops with a fine-pointed number 2 pencil. Draw the tears leaving the eye with the iconic "tear drop" shape, pointed at the top and rounded at the bottom. Draw tears further down in a loose, oval shape. Draw only a few tear drops on each side of the face, or limit the tears to one, as too many will dilute the effect.
Step 3
Use a very fine tip art brush to outline the bottom and sides of the tear drops opposite the light source in your picture in a gray-blue color, such as periwinkle, to create a shadow. Do this for each tear. Rinse the brush in water for acrylics, or acetone for oils. Paint the other half of the outline with a very thin line of white, or very light gray, to create a highlight and give the tear shape.
Step 4
Thin the blue-gray color with turpentine for oils, or water for acrylics, to create a "wash." Use one part paint to five or six parts water until the color is very watery. Lay your canvas flat.
Step 5
Use a small, round tip brush to apply the wash to the tear drop, focusing the color on the shadow side of the tear inside the painted outline. Blot any stray drips with a tissue quickly. Allow the wash to dry before standing the canvas back up.
Video of the Day