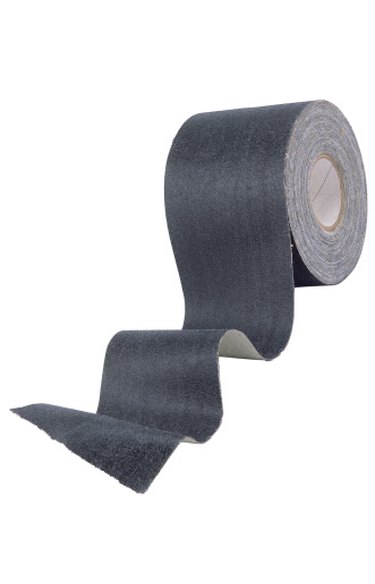
Duct tape is renowned for its versatility and durability. It can be used in many home improvement and building projects. It also can be used to make crafts and toys. You can make a boat out of duct tape in just a few simple steps. Although duct tape is not waterproof, it is water resistant; so the water your finished boat floats on will not destroy your project.
Step 1
Make the sides of the boat. Fold two pieces of duct tape of equal size over onto themselves. These are the starboard and port sides of the boat. Fold two smaller pieces of equal size over onto themselves. Make them into a point and connect them to the ends of the sides. Add tape to hold all of them together. Measure and tear off a piece of duct tape that is twice as long as the open end of your boat. Fold it over itself to create the stern. Tape it in place on the open end.
Video of the Day
Step 2
Create the hull. Make a layer of tape strips along the bottom of your boat on the outside. Press the ends of the strips onto the sides of the boat to hold them in place. Make sure there are no holes in the bottom that might make the boat sink. Turn the boat over so that it is right side up. Carefully lay down a layer of tape strips on top of the other bottom strips. The adhesive sides of the two layers of bottom strips should be sticking to each other. Press the top layer strips down so that there is a neat corner where the sides meet the bottom on the inside of the boat.
Step 3
Add a few more layers of tape all over your boat. This will bulk it up, make it less flimsy, enable it to hold a little weight and will make it more seaworthy. Test your boat out in a sink or a bathtub. If you spot any leaks, remove the boat from the water and allow it to dry. Patch holes with more tape. Keep testing your boat until it is completely seaworthy.
Video of the Day