Things You'll Need
Waterproofing wood finish
Paintbrush
Paint stirrer
Rubber gloves
Safety Glasses

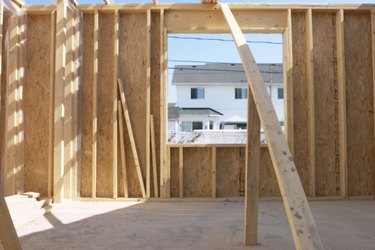
Whether you are working on an outdoor or indoor structure, it is sometimes necessary to waterproof the wood studs of a wall before installing drywall or insulation. While most walls are protected from moisture by a thin layer of impermeable insulation called a vapor barrier, waterproofing the lumber of the wall studs can provide an extra layer of protection in especially damp locations such as a bathroom or basement. The last thing you want is for the studs supporting your walls to rot and weaken from exposure to moisture. Prevent this by waterproofing the studs within your walls with a waterproofer.
Step 1
Remove any dirt or old paint on the studs. The surface of the wood should be clean and bare before waterproofing can be applied.
Video of the Day
Step 2
Put on safety goggles and rubber gloves to protect yourself from exposure to the waterproofing sealer. Also, make sure that there is adequate ventilation in the room where you will be working. The fumes from the sealer can be quite strong, and prolonged exposure to them should be avoided.
Step 3
Open the waterproofing wood finish and stir it thoroughly with the paint stirrer.
Step 4
Use a paintbrush to put a coat of waterproofing wood finish on the studs. Coat all six sides to get maximum waterproofing. When painting, use enough waterproofing wood finish so that there is a wet sheen on the wood before it dries.
Step 5
Allow the waterproofing wood finish to dry completely. This will take from one to two hours, depending on the brand of waterproofing you are using.
Step 6
Apply a second layer of waterproofing wood sealer after the first coat has dried. The second coat should be thinner than the first, requiring less sealer overall.
Step 7
Allow the second coat to dry completely. Once the second layer has finished drying, the wall studs have been sufficiently waterproofed.
Video of the Day