Things You'll Need
Pearlescent white polymer clay
Sharp knife
Pearlescent powders
Plastic baggie
Embroidery needle
Cookie sheet
Clear craft sealer
Paintbrush

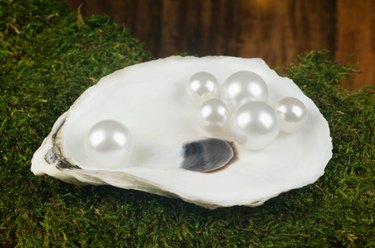
Diamonds may be a girl's best friend, but pearls are a close runner-up, especially if you can have the look for less. Some women may value real pearls as heirlooms, but purchasing the real thing for everyday wear or home craft projects may not be practical. Instead, pull out some polymer clay and get going. Polymer clay offers a malleable medium that takes mica powder easily for shimmer. When baked, it hardens and gives the look of the real thing.
Step 1
Cut a 1/2-inch slice of polymer clay from your brick. Pearlescent clay has a little mica powder mixed in to give it some shine; this isn't enough to give a realistic pearl effect, but it will give the finished pearls some depth.
Video of the Day
Step 2
Knead the clay between your fingers to make it warm and soft. Roll it into a snake about 1/2 inch thick. Cut 1/2 to 3/8-inch-thick discs from the snake. These will become your pearls.
Step 3
Roll each disc between your palms to form it into a ball. The balls don't have to be perfect spheres; pearls often have irregular shapes.
Step 4
Pour about 1/4 tsp. of pearlescent powder into a plastic baggie. You may use one color or mix colors to create different shades. A little white added to any colored powder will lighten the color if it's too dark.
Step 5
Drop a single clay ball into your baggie and roll it around for a few seconds. Remove the ball from the baggie and set it on your work surface. Color all of your pearls this way.
Step 6
Gently roll each pearl between your fingers to work the powder into the clay. Push an embroidery needle through each pearl to create a bead hole, and gently work the pearls back to the desired shape with your fingers.
Step 7
Place your pearls on a cookie sheet. Bake the pearls at about 250 degrees F for about 10 minutes. Allow them to cool and coat each pearl with a little clear sealer. Let them dry overnight.
Video of the Day