Things You'll Need
Lint-free cloth
Pencil
Wood glue
Glue tray
Glue roller
Clamps
Heavy books

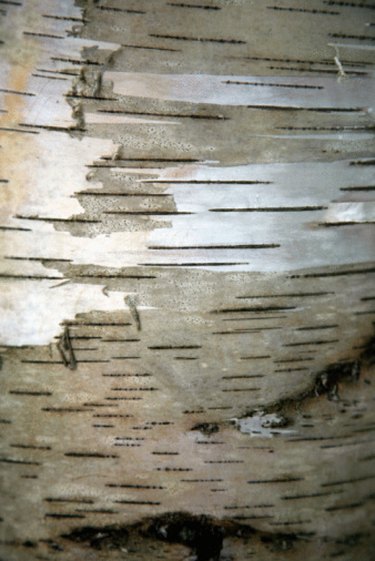
With its white color, peppered with black flecks, birch bark is distinctive among tree coverings. Unlike many other types of bark, that of the birch tree is very pliable, coming off in thin sheets. Birch bark sheets are attachable to plywood, forming a cover for a variety of craft projects. Regardless of the project, complete the gluing in the same fashion.
Step 1
Remove any debris from the plywood and the back of the birch bark by lightly brushing it away with a soft, lint-free cloth.
Video of the Day
Step 2
Plan the location of the birch bark on the plywood and make any markings with a pencil if necessary.
Step 3
Fill a glue tray with wood glue. Place a layer of glue onto a glue roller.
Step 4
Apply a layer of wood glue on the back of the birch bark by rolling in a gentle back and forth motion. Cover the entire back of the birch bark to ensure adequate coverage.
Step 5
Press the birch bark sheet onto the plywood and gently run the side of your hand along the bark to ensure contact.
Step 6
Clamp the edges of the plywood with wood clamps to hold the birch bark in place while drying. Placing clamps along the edge holds the birch bark tight against the plywood, keeping it from curling upward while the glue dries. Placing heavy objects on the top, such as books, can serve as an alternative to clamping if the project can lie flat. Leave the clamps or pressure on for at least four hours. Allow 24 hours of drying time before handling.
Tip
If you’re applying birch bark sheets to a large piece of plywood, start with one sheet in the top corner. Continue to apply additional sheets in a row, next to one another. Cut away any excess birch bark after gluing it by running a craft knife along the edge, flush with the edge of the plywood.
Video of the Day