Things You'll Need
Graphite pencil
Paper
Colored pencils

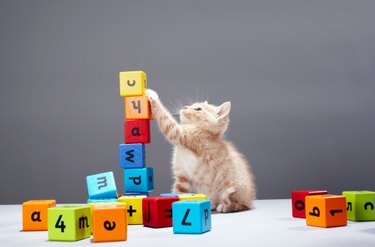
Learning to draw can be fun and is made easy by lessons and use of basic shapes. Many pictures are a simple combination of shapes placed together with lines erased to create an image. Alphabet blocks for children can easily be drawn using a basic cube or box shape with lines eliminated and block letters. This type of art is used to decorate a classroom or to emulate child's play within art.
Step 1
Draw a square on the paper using the graphite pencil. Make the pencil strokes light, as some will need to be erased.
Video of the Day
Step 2
Use the original square as a guide and draw an additional square slightly above and to the left of the first square. The second square will be the same size as the first square. The right hand bottom corner of the second square will overlap the left hand top corner of the first square.
Step 3
Connect the squares at the corners. The top left corner of the second square will connect to the top left corner of the first square. The top right corner of the second square will connect to the top right corner of the first square. The bottom left corner of the second square will connect to the bottom left corner of the first square and the bottom right corner of the second square will connect to the bottom left corner of the first square.
Step 4
Erase unnecessary lines within the cubes. The lines that will be erased will be the bottom of the second square and the right side of the second square. Darken the remaining lines with the graphite pencil.
Step 5
Add a block letter to the front surface of the block with the graphite pencil by first drawing the letter regularly. For example, a letter block "C" will begin with the "C" drawn as a normal letter. Make sure to press lightly on the page and make sure the letter will fit into the given space by drawing the letter slightly smaller than the surface area.
Step 6
Expand the letter into a block style by adding lines to the letter. For example, the "C" will receive lines extending from the top and bottom of the letter and a curved line extending around the back to connect the top and bottom extensions. Practice the letters on a separate piece of paper if needed before adding them to the block drawing.
Step 7
Use the colored pencils to trace over the completed block letter. Color the rest of the block with the colored pencils. Use contrasting colors for the letters and the blocks for emphasis, such as a green letter on a pink block.
Video of the Day