Things You'll Need
High-quality polyester microfiber fabric or desired fabric
Newspaper
Pencil
Ruler
Straight pins
Sewing machine
Iron
Ironing board
1/4 inch elastic
1 1/2-inch long safety pin

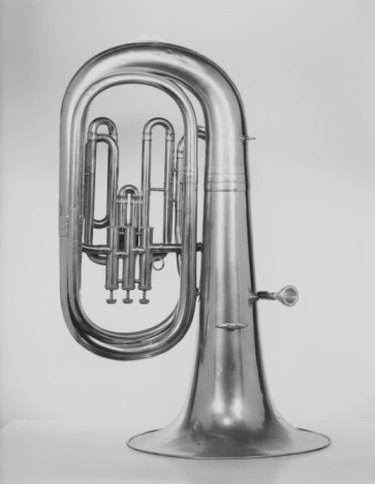
Tuba covers are used to display school spirit while marching or playing in a pit band. The material used in a tuba cover is made from a high-quality polyester microfiber that allows the sound to go through the horn without distortion. Stamp, stencil, paint or screen print the band's logo in the center of the tuba cover to display school spirit. The process to make the tuba bell cover from start to finish takes approximately 30 minutes.
Step 1
Spread a sheet of newspaper on a flat work surface. Place the bell of the tuba on the newspaper. Trace around the bell. Remove the tuba.
Video of the Day
Step 2
Enlarge the circle by drawing a line 3 inches away from the traced drawing. For example, if the tuba's traced bell circle is 18 inches in diameter, the diameter of the circle with the additional 3 inches is 24 inches.
Step 3
Cut the paper template from the newspaper. Pin the paper template to the fabric. Cut around the paper template to create a fabric circle. Remove the paper template.
Step 4
Clean-finish the edge of the fabric by sewing a zigzag stitch on the very outside edge.
Step 5
Flip the fabric so the front side or print side of the fabric is face down. Fold the edge of the fabric over 1 inch. Pin into place.
Step 6
Position the pinned edge under the pressure foot on the sewing machine. Line the fabric up to make a 5/8-inch seam. Sew a straight stitch seam around the circle. Stop the sewing 1 inch away from the beginning point. This creates a casing for the elastic.
Step 7
Lay a piece of 1/4 inch elastic around the traced edge of the tuba bell. This is the inner circle on the newspaper. Cut the elastic 4 inches shorter than the circumference of the bell.
Step 8
Insert the safety pin 1/2 inch in from one end of the elastic. Close the safety pin. Insert the head of the safety pin in the 1 inch opening of the casing. Slide the elastic through the casing until the safety pin reappers in the opening. Make sure the end without the pin does not disappear into the casing.
Step 9
Pull the safety pin from the opening until 2 to 3 inches of the elastic is showing. Remove the safety pin. Overlap the two ends of the 1/4 inch elastic 1/2 inch. Sew the two pieces of elastic together.
Step 10
Pull the fabric gathered around the elastic until the sewn portion disappears and slides inside the casing. Reposition the casing seam under the pressure foot. Sew the 1 inch opening closed. Cut all excess string.
Tip
Add decoration to the tuba bell cover prior to the sewing process. This ensures the design is in the center of the bell cover.
Video of the Day