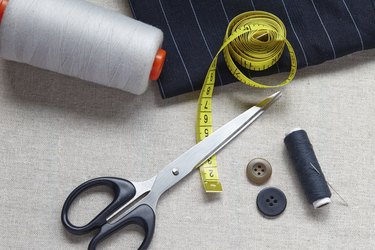
A pair of pants that fits well everywhere but the legs needn't be shoved into the back corner of your dresser or given away once you know how to take in the legs. With a sewing machine, some chalk, pins and a measuring tape, you can make those baggy-leg pants slim in just an hour or two, if you are a beginning or novice sewer.
Things You'll Need
- Pants
- Tailors chalk or regular chalk
- Measuring tape
- Straight pins
- Color-matched thread
- Sewing machine
- Appropriate needle to material
- Serger/overlock machine (Optional)
Video of the Day
Step 1
Remove the bottom hem from both pant legs with a seam ripper. Working from the inside of the pants, insert the point of the seam ripper underneath a stitch. Slide the seam ripper so that the mouth -- its blade -- is against the stitch and gently push to slice the stitch in half. Repeat as needed until the entire seam is removed. Pull out all extra threads.
Video of the Day
Step 2
Put on your pants inside out, buttoning or zipping them fully. On your own, or with the help of a friend, grab the extra material to mark where you would like the new seam, inserting straight pins vertically to create it on the outside seam. While you can insert pins along the outside and inside seams, it is often easier to take in only the regular outside seam, rather than the flat-felled inside seam. Carefully remove your pants with the pins still in place, taking care not to poke yourself.
Step 3
Draw a straight line connecting each of your pins with a piece of chalk to mark the stitch location. Taper your chalk line so that the top of your marked line gradually overlaps with the original seam. Measure the distance from the outside seam to the chalk line with a ribbon tape measure. Duplicate the chalk line on the other pant leg from these measurements. Remove the pins.
Step 4
Insert colored thread to match your pants through the sewing machine following the thread path for your sewing machine. Sew along the lines you have marked.
Step 5
Put your pants on to check the fit after turning them right-sides out. If the new shape of the pant legs is to your liking, continue to the next step. If the pant legs are still too wide, turn the pants inside out and use your chalk to mark a line that is slightly narrower than the seam you just sewed. Sew along this new line. If the pant legs are too narrow, tear out the new seam with the seam ripper and make the seam wider.
Step 6
Cut the excess material from the new seam once the pants are tailored to your liking by turning them inside out once more. Leave at least 1/4 inch of fabric next to the seam. If your pants are made of a fabric that easily frays -- such as cotton -- use a serger or overlock machine to finish the raw edges. If you don't have access to a serger-overlock machine, use your sewing machine's zigzag stitch, and sew along the outside edge of the new seam.
Step 7
Follow the previously made creases to re-fold and re-sew the bottom hem of the pant legs.
Tip
Heavier fabrics like denim require a 16/100 needle.
Once you've taken in the pant legs and checked the fit, backstitch the ends of each seam to lock them in place.
Double check your measurements before you cut any fabric.
Warning
Remove the pins before sewing to avoid breaking the needle.
Using a needle not sized to the fabric's weight causes it to continually break.