Things You'll Need
Cardboard strip, 1 inch by 15 inches
Pushpins
Awl
Marking pencil
Tape measure
Fabric, 1 1/2 yards, batiste
Elastic, 1/4 inch wide
Lace edging, 1 1/2 yards (optional)
Corrugated cutting board
Sewing machine
Buttonhole attachment (optional)
Sewing kit
Iron and board

The pioneer night cap, also known as the mob cap, was as much a part of 19th Century American fashion as the muslin apron. In days where women wore long hair, the cap kept their tresses clean, neat and out of the way when they were cooking, cleaning or sleeping. Whether it's a mob cap or a Mrs. Santa Claus hat, make one with a generous yard of fabric, a bit of elastic and an hour of your time.
Step 1

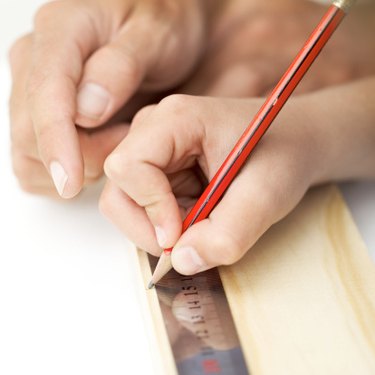
Draw a pencil line lengthwise down the center of the cardboard strip. Make a mark 1/4 inch in from the top edge (Point A), another 12 1/4 inches from the edge (Point B), another 12 3/4 inches from the edge (Point C), another at 14 3/4 inches (Point D) and a cutting line 15 1/4 inches from the top edge. Pierce a hole with the awl cleanly through each mark. Insert a pushpin through Point A.
Video of the Day
Step 2

Fold the fabric in half lengthwise and width-wise to find and mark the center point. With just the lengthwise fold, place the fabric onto the cutting board and anchor the corners. Place the cardboard strip's Point A pushpin through the fabric and into the board at the center point. Insert the marking pencil tip into the Point B hole and mark a circle. Continue marking circles at the Point C, Point D and cutting line holes. Remove the cardboard strip and straight-pin the fabric just inside the cutting line. Remove the thumbtacks and cut out the pieces. Draw a line connecting the Point B line to the Point C line. Make a buttonhole or slit on that line, through one layer of the fabric. This will be the elastic insertion point. Measure the head circumference from the nape of the neck to the high forehead. Cut a length of elastic 1 1/2 inches shorter.
Step 3

Place the lace edging on the right side of the fabric at the seam line with the decorative part facing inward and baste in place. Lay the second layer of fabric, right sides together, over the first layer and pin. Stitch through all layers, leaving a 1-inch opening to turn the cap right side out. Clip the seam, turn the project and press. Pin the two layers together at the Point B and Point C lines and stitch along each line, forming the elastic channel. Attach a safety pin to one end of the elastic and thread it through the casing at the buttonhole. Try it on and adjust the elastic as needed. Overlap and sew the elastic ends together.
Tip
For less fullness in the cap, move all lines toward the center point. For a deeper brim ruffle, move the cutting line farther from the center point. For a speedy project, cut out only one layer for the cap and zigzag the stretched elastic directly to the cap where the elastic channel would be.
Warning
Using heavy fabric, such as denim will result in a less puffy cap. Keep all sewing tools away from small children and pets. If the fabric has a right and wrong side, make all markings on the right side of one layer.
Video of the Day