Things You'll Need
Sawdust
Twine
Plastic mixing tray or bucket
Paint
Stirrer
Baking sheets
Mesh strainer
Craft seam tape
Styrofoam ball
Stamp pad re-inker

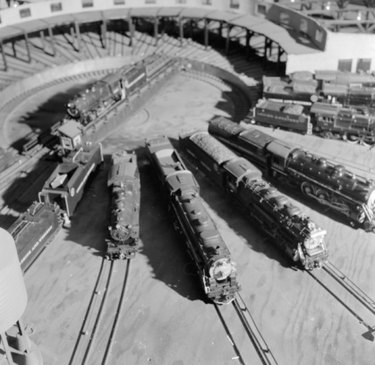
Craft flocking is used for a large number of things. It can be used as lawn and vegetation in modeling such as miniature battlefields, dollhouses and model railroads. Lighter craft types can be used to embellish stamped or drawn images in handcrafted greeting cards and scrapbook pages. Small bottles of flocking are available in craft stores in various colors. However, you can make your own in any color or quantity you wish from a variety of common items. The materials you choose will depend on the final use of the flocking.
Model Flocking
Step 1
Collect sawdust that has been generated by sanding, not sawing. Lumber mills and woodworking shops usually give it away. If you want flocking that looks like taller grass, snip some natural twine in short lengths and rub the pieces between your fingers to separate the individual fibers.
Video of the Day
Step 2
Squeeze paint onto a plastic mixing tray and spread it into a thin layer. The amount of paint you use will depend on the amount of flocking you are making. If you only want a pinch or two of flocking, use a very small dab of paint. Use two or more separate trays of paint, such as yellow and green, to make the flocking look more natural.
Step 3
Squeeze the paint into a plastic bucket large enough to hold all the flocking if you are making a large quantity of it. Dilute the paint with one part water to two parts paint. Experiment with this ratio until you get the color you want. Sawdust and twine absorb water and paint. Therefore, the resulting color will be less intense when it dries.
Step 4
Place the sawdust or twine in the paint. For small amounts on plastic trays, roll the flocking around with your fingers in the paint until it is well coated. For a large quantity, gradually pour the flocking into the paint bucket while stirring until it is well coated. The consistency should be a rather dry, crumbly mixture. If it is too wet the paint will clump all the flocking together when it dries.
Step 5
Let the painted flocking dry overnight evenly spread on an old baking sheet or other surface that the paint will not stick to.
Step 6
Sift sawdust flocking through a mesh strainer to separate any lumps. Crumble the lumps with your fingers if possible. If you have lumps that do not crumble, use them as rocks in your model or discard them.
Craft Flocking
Step 1
Buy some craft seam binding tape of the color you want your flocking to be. Unravel the end by pulling on the horizontal thread. Pull it out until there is an inch or so of fringe on the end. Snip the fringed end into very tiny lengths. This is your flocking.
Step 2
Cut a Styrofoam craft ball in half. Rub the halves together over a piece of paper. The friction will generate a fine shower of polystyrene flocking on the paper.
Step 3
Color the flocking if you like with a few drops from a stamp pad re-inker. Stir the flocking until the color is evenly distributed. You can control the intensity of the color by the amount of ink you add. You can also mix colors to achieve a unique shade.
Video of the Day