Things You'll Need
Razor blade
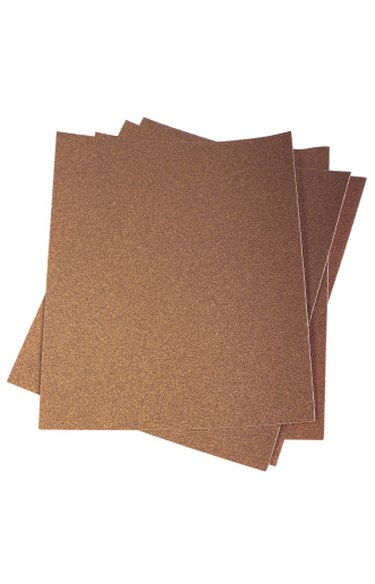
400-grit sandpaper
Sanding block
Moist cloth
Dust-free cloth
Clean cotton cloth
Automotive rubbing compound

Polyurethane is a coating applied by brush to wood surfaces (usually tabletops) to create a shiny surface that also acts as protection against scratches. If the surface does receive light scratches after application, it is usually only in the layers of polyurethane and not the wood surface itself. After applying the first two coats of polyurethane, it is important to remove any blemishes in the dried polyurethane by both wet sanding and using a razor blade.
Step 1
Inspect the polyurethane finish after it is dry to the touch. Look closely, at eye level, across the surface of the dried polyurethane for any bumps or dust specks. Rest a razor blade's edge almost parallel with the polyurethane surface, and carefully cut away any bumps or blemishes that rise above the surrounding area.
Video of the Day
Step 2
Wait another 24 hours for the surface to fully dry. Dip 400-grit sandpaper in water and wrap it around a sanding block. Sand out any blemishes left by creating small circular motions with the sanding block on the material's surface. When the blemishes are gone, stop sanding.
Step 3
Wipe the surface with a moist cloth, then dry the surface with a dust-free cloth. Apply a final coat of polyurethane within 48 hours of the previous coat. If any blemishes or bumps are still seen, use the same sanding process to remove them. Then dampen a clean cotton cloth in water and rub automotive rubbing compound onto the surface in a circular motion -- the compound will remove any slight scratches left by the sandpaper. Let the surface dry thoroughly and buff with a clean, dry cloth.
Tip
If the polyurethane surface looks cloudy after applying the automotive rubbing compound, apply automotive polishing compound to the surface in circular motions with a clean cotton cloth.
Video of the Day