Things You'll Need
Porcelain
Mold(s)
Paint brushes
Sponge
Wire
Pottery kiln
Glazes

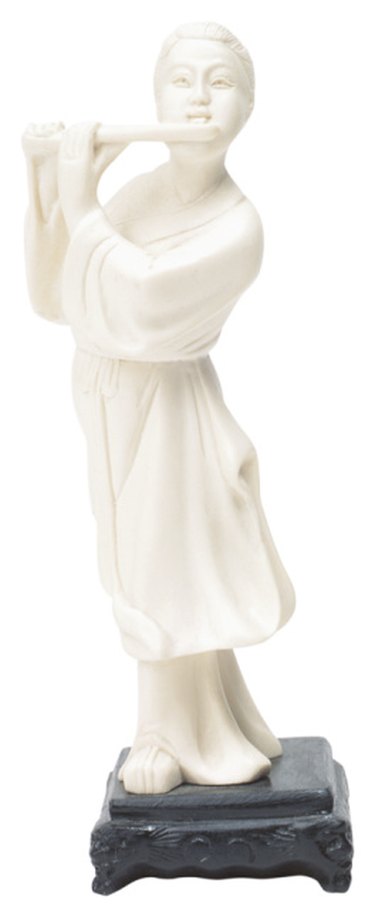
Hand building a porcelain sculpture is an ambitious project, but with some perseverance and patience, you may obtain pleasing results. Without any previous sculpting or pottery experience, you can create some abstract shapes by hand and even human or other shaped figurines using a mold. Porcelain is a type of ceramic material that is fired to higher temperatures than other types of clay and one that, after firing, displays a fine and translucent surface. Porcelain is most frequently glazed.
Make a Porcelain Sculpture
Step 1
Decide on the shape you want to create and draw a sketch. Even if you want to make an abstract shape you need to have a basic idea of how you want your sculpture to look. If you want to create a more complex shape, you need a mold.
Video of the Day
Step 2
Choose a space in your home, basement or yard. You need a working table and a comfortable chair. Place old newspapers on the table and floor to protect these.
Step 3

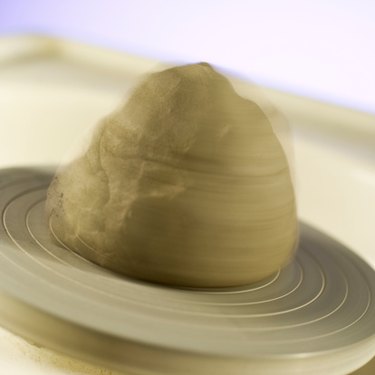
Condition the porcelain. This is a procedure that is needed to warm up the material and make it more malleable. Play with the material and form a few coils to get used to the material.
Step 4
If using a mold, press in the material using both your hands. Your mold may be made up of two pieces, so fill both pieces and join these by pressing them together. If you choose to create your sculpture without molds, form a few clay balls, squares, coils or slabs and combine these following your initial sketch. Insert wire between two distinct pieces to connect them and make your sculpture more stable.
Step 5
Take out the porcelain from the molds after 5 to 10 minutes. Make the surface smoother using a moist sponge or paint brush. You may decorate your hand built sculpture by carving a few lines or symbols or by applying some clay coils.
Step 6
Allow the porcelain sculpture to dry at least 48 hours (or even more if the atmosphere is humid) before firing. The sculpture needs to be bone dry when placed into the kiln. The sculpture is fired in a kiln between 1,800 and 2,000 degrees F. The initial firing is called bisque firing and is performed at lower temperatures to extract the moisture and harden the porcelain, while still keeping the surface porous to make the glazing process easier.
Step 7
Glaze your sculpture using glazes. Apply the glaze using paint brushes. Skip this step if you prefer to paint your sculpture without glazing it.
Step 8
A second firing is needed to allow the glazes to penetrate the porcelain. Glazes make the porcelain impermeable to liquids and will also imbue the porcelain with colors, so you don't need to paint your sculpture.
Tip
If you are creating several components for your hand built sculpture, allow these to harden a bit before stacking them. If you form a larger solid shape, make a small hole at the bottom of the piece; if any air is trapped in a solid porcelain form, this could cause the object to explode during the firing.
Warning
Porcelain cannot be fired in a regular oven, because it is a material that requires at least 2,100 degrees F. If using glazes, you will notice that their color will change after the firing; to achieve the desired color, you may need to experiment with the glazes or ask a professional potter to give you some tips on how to obtain the desired color. Don't inhale the particles (silica dust) that are found on the surface of the piece after the sculpture is dry or after it is fired; these particles may be deposited in the lungs and lead to silicosis if inhaled on a regular basis. Wear protective gloves and a mask while handling the sculpture before it is glazed.
Video of the Day