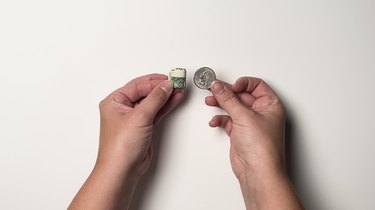
If you're looking for cute ways to fold money, we have the perfect dollar bill origami tutorial. Whether you're folding money to fit inside a piggy bank slot, creating a unique cash gift for a friend or simply looking for an unconventional way to relieve stress and keep your hands busy, this dollar-bill folding technique will teach you how to make a dollar bill as small as possible. After all, money folding can be a fun way to create a DIY gift that's more unique than a gift card but just as versatile!
While the U.S. dollar-bill thickness dictates just how small a dollar bill can get, this bill-folding tutorial should whittle a standard dollar bill down to about the size of a quarter. Follow our step-by-step instructions to master beginner-friendly, easy origami with dollar bills.
Video of the Day
Smallest Way to Fold Dollar Bills (Video)
1. Select dollar bill
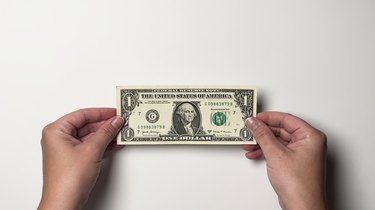
Place a one-dollar bill on a flat surface. You can use a worn one-dollar bill if you choose, but a crisp, new one will allow you to see creases more easily. Think of your bill like origami paper—the fewer folds the origami paper has, the easier it is to monitor the progress.
2. Begin paper folding
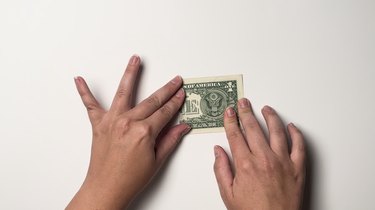
Fold dollar bill in half lengthwise (from left to right) so two upper corners where the "1" is displayed touch. Secure fold by adding a crease.
Tip
To ensure that your dollar-bill folding stays tight, try using a credit card or other plastic edge to add creases to the bill. The stronger the crease, the more likely your folds will stay put.
3. Make second fold

Fold bill in half again, this time folding bottom half upward for a vertical fold. Secure with a crease.
4. Fold dollar bill a third time
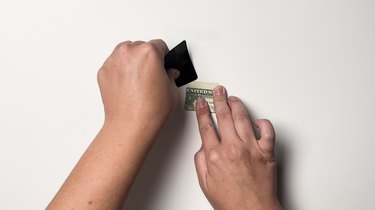
Fold left side over lengthwise again.
Tip
If you’re looking for another fun money gift idea, you can create a money origami heart, money origami shirt and bow tie, money origami star or money origami butterfly. Our guide to simple dollar-bill origami is a great place to start. Though these shapes won’t be as small as the final product of this tutorial, they're great gifts in their own right.
5. Fold dollar bill once more
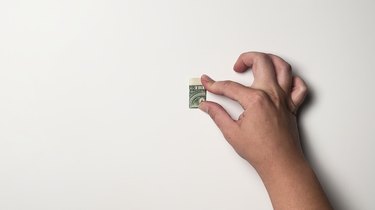
Fold bill lengthwise yet again, from left to right.
6. Create final paper fold

Finally, fold bottom half upward again for another vertical fold. At this point, the dollar bill thickness will "push back," so crease folds multiple times to get it to hold shape.
And with that, you're finished. Yes, this origami dollar-bill project is really that simple! Whether you're experimenting with paper crafts for the first time or dreaming up the perfect origami gift, we hope this tutorial has provided plenty of inspiration.