Things You'll Need
Old chisel
Hammer
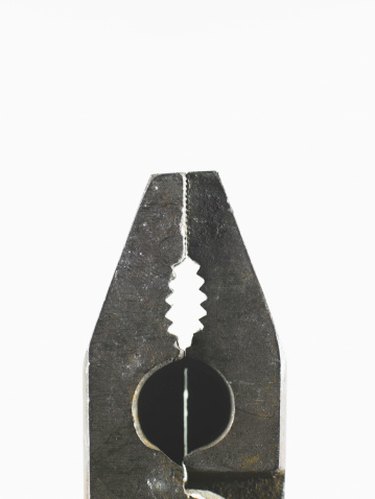
Linesman's pliers

Though screws are strong and once installed into the material seldom slip or break unless rusted with age, the heads can break during installation. Generally, if the screw is of a lesser quality, or the shank is longer than average, the screw head (whether Phillips or slotted) can sheer off, giving the screwdriver nothing to grip the screw. Consequently, the screw has to be broken, preferably flush with, or below, the surface of the material where it is embedded. This process is carried out with an old chisel and linesman's pliers.
Step 1
Position the blade of an old chisel against the shank of the screw, with the chisel almost resting on the material that the screw is partly embedded in. The chisel will be almost parallel with the material surface.
Video of the Day
Step 2
Tap the end of the chisel lightly with a hammer several times until a small indentation is created on the screw's shank by the chisel edge.
Step 3
Open the jaws of a pair of linesman's pliers and position the pliers' jaws vertically over the screw head. Close the pliers' handles so the screw head is in the open space created for cutting electrical cables/wires, between the jaws.
Step 4
Move the pliers' handles backward and forward until the screw's shank breaks at the indentation created by the old chisel. Discard the broken screw.
Tip
If the remaining section of the embedded screw is above the material's surface, use an angle grinder to carefully grind down the screw shank until it becomes flush, or is below, the material surface. However, be careful not to damage the surrounding material with the rotating angle grinder blade.
Video of the Day