Things You'll Need
Cotton swab
Soft pencil 2 or 3B
Soft eraser
Paper

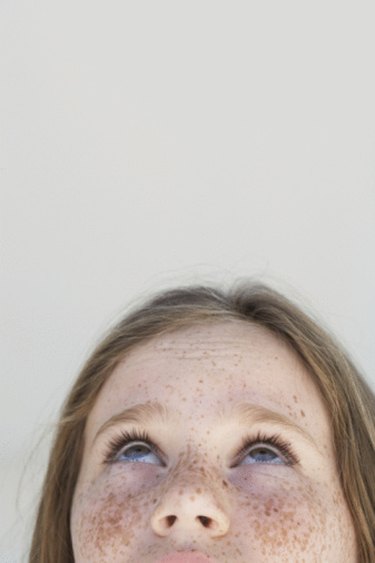
Drawing freckles realistically takes a little practice, but having the right tools and using the right techniques helps a lot. Depending on whether you are drawing freckles onto a photo, or on top of another hand-drawn image, similar basic techniques can be employed. No two freckles look alike, so experimenting with different amounts and sizes is a good way to find the style you like, as is using different types of pencils.
Step 1
Select the area of the face or body of your image where you want to add freckles. Note that freckles generally appear around the nose and upper cheek bones. Sometimes, freckles may appear more like acne than freckles if added to a face on the cheeks or along the jawbone.
Video of the Day
Step 2
Shade a separate piece of paper heavily to create a source of graphite dust from the pencil. Use a soft 2 or 3B pencil for this task.
Step 3
Push one end of the cotton swab into the darkly shaded area you just made to transfer some of the graphite to the cotton swab.
Step 4
Transfer the graphite to your image by rolling the shaft of the cotton swab between your fingers, with the graphite-covered tip lightly making contact with the image. To create different shapes of freckles, make some bigger than others; for realism try not to follow a pattern. The first few freckles you make will be darker as there will be more graphite on the tip of the cotton swab.
Step 5
Use your soft eraser to blend the freckles in with the shading of the image by lightly dabbing the eraser onto the freckles until the desired tone is achieved. Do not rub the eraser on the image as this will erase all layers of shading and lining in the image.
Video of the Day