Things You'll Need
Wire coat hanger
Wire benders
Wire cutters
Glue gun
Glue gun sticks
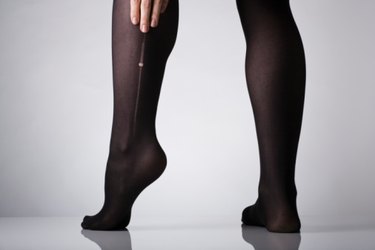
Pantyhose, in desired color
Scissors
2 12-inch lengths ribbon

From Mardi-Gras to Halloween, masks are a large part of North America's celebratory culture. Purchasing a mask can be expensive so why not create your own at home for a fraction of the cost. You can incorporate household items, such as pantyhose, into the overall structure of the mask to add sheer portions. A customized mask conforms to your face and allows you to see through the sheer fabric.
Step 1
Untwist the wraps on the coat hanger using the wire benders. Straighten the hanger completely, and cut off the two ends that had been wound together.
Video of the Day
Step 2
Form the wire into an oval, as wide and as long as the wearer's face. Join the two ends by twisting them together.
Step 3
Cut off one of the legs from the pantyhose - the material from the one leg is all that is needed for the mask. Remove the lower half of the leg and discard it. All that should remain is the upper thigh portion of one leg, which will be used for the mask.
Step 4
Cut from the top opening to the bottom opening in a straight line, allowing the pantyhose to spread flat.
Step 5
Turn on the glue gun and pipe a thin line of glue around the entire perimeter of the wire oval.
Step 6
Attach the pantyhose to the glued areas. Cut off any excess.
Step 7
Place a dot of hot glue on either side of the oval, on top of the metal. Attach one end of a ribbon to one dot. Repeat with the other.
Step 8
Wear by placing the oval over your face and tying the two ribbons together in the back of your head to hold it on.
Video of the Day