Things You'll Need
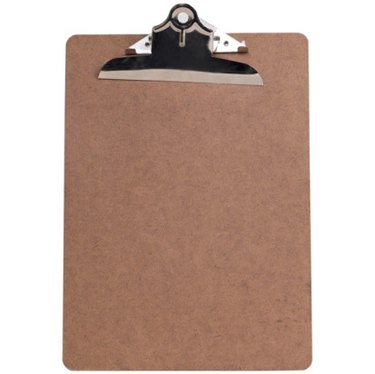
Wooden clipboard
Screwdriver
Scissors
Scrapbook paper
Ruler
Craft glue
Sponge brush
Craft scraper

Clipboards can sometimes be a bit boring and drab, but you can give them new life with the art of decoupaging. Applying the technique to a clipboard follows the same basic steps as with other decoupage projects, just with a different finished result. Save scraps of paper when you finish a scrapbooking project and use them for your clipboard. Add embellishments such as stickers after you have finished the decoupage process.
Step 1
Take apart your clipboard by unscrewing the metal clip part. Keep all the parts so you can put the clipboard back together when finished.
Video of the Day
Step 2
Cut your paper to the size you want for the clipboard. If you want to cover the entire clipboard, measure your paper first.
Step 3
Spread a thin layer of craft glue with your sponge brush onto the clipboard where you want to affix your paper.
Step 4
Place your paper onto the clipboard by starting it at one end, and smoothing it out as you attach it to the board. Use a heavier-stock paper such as scrapbook paper.
Step 5
Take your craft scraper and run it over the paper to smooth it out and get rid of air bubbles.
Step 6
Spread another thin layer of craft glue over your paper. Run the glue over the edges so it seals the paper in.
Step 7
Continue affixing paper to your clipboard until you have decoupaged as much of the board as you want.
Step 8
Let the clipboard dry completely, usually overnight, before reattaching the metal clip part. The glue will dry clear and harden.
Tip
If you are decoupaging both sides of the clipboard, let one side dry completely before starting the other side.
Video of the Day