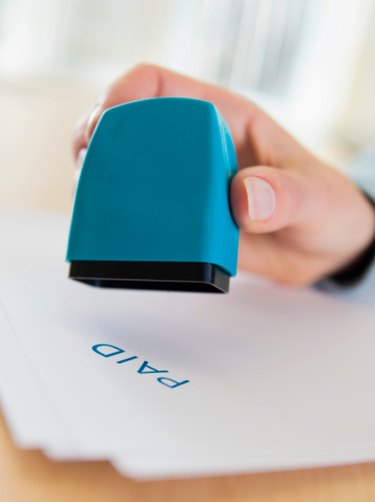
You can tell the size of a Brother-manufactured pre-inked stamp by the model number. The 1850, for example, is 18mm x 50mm, and you can have up to four lines of text custom printed on the stamp. After the stamp no longer gives colorful images, it's possible to add more ink.
Step 1
Remove the stamp's lid; this is the colored section. Find a flat table to set the stamp on during the refilling process.
Video of the Day
Step 2
Add six drops of Brother refill ink, and be sure to use the same color. Changing ink brands, according to the manufacturer, will render the stamp useless.
Step 3
Wait 10 to 15 minutes so that the ink can work its way into the pad.
Step 4
Place the lid back on the stamp and use the stamp a few times on scratch paper. If the stamp hasn't returned to full color, repeat the process. Don't add ink again if you haven't waited the 10 to 15 minutes before testing the stamp. If you have too much ink in your stamp, you will spill the ink.
Video of the Day