Things You'll Need
Paper plates
Acrylic paint, silver
Stapler
2 paintbrushes
Ribbon, 1-inch wide
Scissors

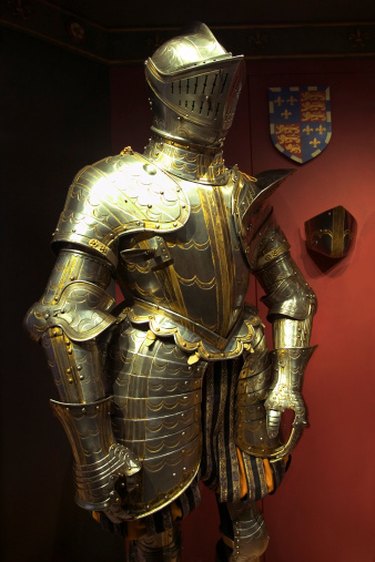
If you are dressing up as a knight for Halloween or for a theatrical presentation at your school, make your costume look more realistic by putting on armor. Real, metal armor can be extremely heavy, and is not practical as a costume accessory. Instead of using metal armor, make costume armor out of paper. Paper armor will look like metal but will be lightweight. Make paper armor using materials purchased from any craft supply store.
Step 1
Place 18 paper plates onto a table top with the bottom sides facing up.
Video of the Day
Step 2
Paint the bottom of each paper plate using silver acrylic paint. Allow the paint to dry for 20 minutes.
Step 3
Overlap three plates by 1 inch, and staple them together along the edge. This will create a set of three paper plates. Repeat to create six sets of three paper plates.
Step 4
Place one set of plates, silver side up, horizontally on top of a second set of plates. Overlap the sets by 1 inch, and staple along the overlapped edge. Place the doubled sets on top of another set, overlapping them by 1 inch again. Staple along the overlapped edge. This completes the front of the armor. Set the front piece aside. Repeat in the same manner to create the back of the armor.
Step 5
Cut four pieces of 1-inch wide ribbon to measure 12 inches long each. Staple two ribbons onto the top of the front piece of the armor, placing each ribbon 4 inches from the left and right side. Staple one end of both ribbons in place. Repeat this process with the back piece of the armor.
Step 6
Place the front piece on top of the back piece, positioning the silver sides of the armor facing out. Tie the front and back ribbons together. Slide the body armor over your head to wear.
Warning
Keep the stapler out of reach of children.
Video of the Day