Things You'll Need
Vinyl Tape
Scissors
Measuring tape

Quiet Walk is a flooring product manufactured by MP Global Products. MP Global Products, which is based in Norfolk, Nebraska, has operated and sold Quiet Walk underlayment since 1997. This underlayment is marketed as a fix-all product for common problems with laminate flooring. The manufacturer claims that installing Quiet Walk helps to reduce noise through sound absorption, provide moisture protection and insulate your house.
Step 1
Prepare your sub-floor for installation. Remove all preexisting flooring before attempting to install underlayment. Check the surface of the floor for raised nails and loose material, as this can result in a non-smooth surface. Sweep the floor with a broom to remove any remaining dirt and dust.
Video of the Day
Step 2
Open the Quiet Walk packaging. Review the packing slip to ensure all necessary material is accounted for. Locate the directions included in the packaging and review. Determine what tools will be needed for installation. Remove unnecessary packaging from the installation area to prevent loose material from being left under the Quiet Walk.
Step 3
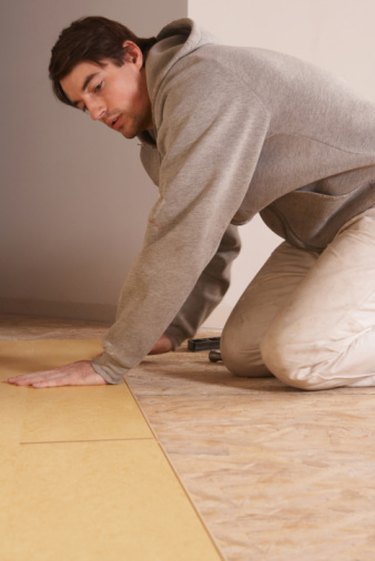
Roll the underlayment material over the installation area. Ensure that the blue surface is facing upward. The outer edge of the Quiet Walk material should be at least half an inch away from the walls, as this will allow the material to settle without bunching. Quiet Walk material should be butted together and never overlapped. Once it is butted together, use heavy duty vinyl tape to seal the material together. Then install your laminate flooring on top of the Quiet Walk underlayment.
Video of the Day