Things You'll Need
Table saw
Tape measure
Wood blank
100-grit sandpaper

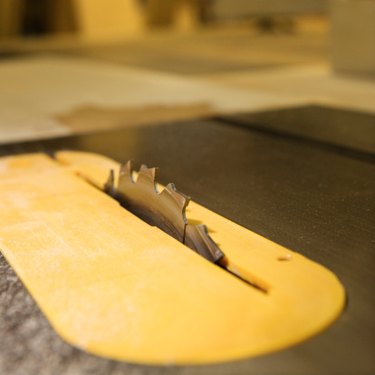
V grooves are cut into wood to add aesthetics. They can be simple or assembled into patterns depending on how many grooves are created in succession. V grooves can be accomplished by either router or table saw, with the latter being the most efficient because the table saw fence is used as a guide. Table saw blades have square teeth, but by slightly tipping the blade at an angle, the edge of the blade forms a perfect V groove when wood is passed over it.
Step 1
Tilt the table saw blade to 30 degrees. Turn the large wheel on the side of the table saw housing clockwise. Watch the dial indicator on the front of the saw read off the degrees. When the needle comes to 30, stop turning.
Video of the Day
Step 2
Raise or lower the blade until no more than 1/8 inch of the blade protrudes from the opening on the table saw. It doesn't have to be perfect; it's okay to approximate it.
Step 3
Measure where you want the V-groove to appear on the wood with a tape measure. Set the table saw fence at that measurement as if you were going to cut the wood there.
Step 4
Place the wood behind the blade. Turn on the saw. Hold the wood with both hands on either side of the blade and push the board all the way over the blade. The tip of the saw blade will cut a V-groove along the bottom of the board.
Step 5
Sand the V groove with a piece of folded 100-grit sandpaper. Use the folded edge of the paper to sand out any burn or blade marks.
Tip
If you raise the blade higher, you can cut a deeper groove. Lower the blade for a smaller groove. You can also adjust the tilt for wider or narrower grooves. Use the sharpest blade possible. Also use a cabinetmaker's crosscut blade for best results, but any blade will suffice.
Warning
Always wear safety glasses when operating a saw.
Video of the Day