Things You'll Need
Bird wing
Utility knife or scalpel
Metal rods
Flea shampoo
Borax
Hair dryer or shop vac
Fast-drying glue
Thick cardboard
Heavy pins
Leather, lacings, beads (optional)

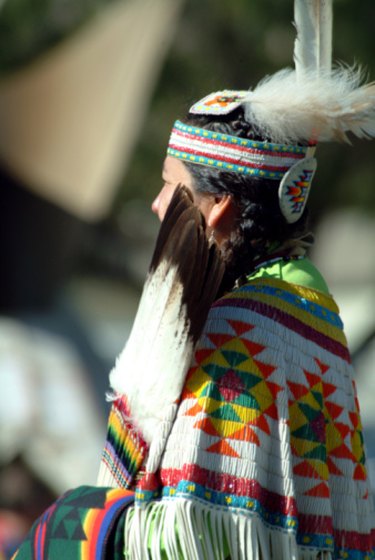
Feathers and whole wings are made into ceremonial dance fans or shamanic tools for trance and healing by members of Native American nations. Although all birds are sacred and are endowed with their own symbolism, Native Americans seek certain birds' feathers more frequently, including the goose and the eagle. However, some feathers used in wing fans are from birds protected by the Endangered Species Act. You can only gather raptor feathers or wings if you are enrolled in one of the federally recognized American Indian tribes.
Step 1
Find a wing that is in fairly good condition. You can repair a small amount of damage to the bones if some are broken. You can't repair heavier damage. If you hunt, this might be a bird that you have freshly killed. If not, choose a newly dead bird of the species you desire.
Video of the Day
Step 2
Using your scalpel, cut the inside of the wing from the joint closest to the tip down to the base. Make this incision along the quills of the largest feathers.
Step 3
Remove all of the muscle from the bone. Be sure to scrape out all the muscle you can reach under the skin. It is the muscle that will rot in the future if it is left in place.
Step 4
Repair any broken bones with metal rods, if needed.
Step 5
Wash the entire wing with flea shampoo. This will kill any mites or other insects that may be living in the wing, remove blood and other fluids, and clear the wing of dirt and grime. Rinse all of the shampoo out.
Step 6
Dry the wing with a hair dryer or shop vac. Use a zero-heat setting to avoid singeing the feathers. If the feathers flattened out in the previous step, they will fill out again here.
Step 7
Pack the area where you removed the muscle in Step 2 with borax. This will continue the curing process and prevent infestation from microbes in the future.
Step 8
Glue the skin in place over the bone and borax.
Step 9
Tack the wing to the cardboard, placing the pins between the quills. Be sure to put it in the position you want it to permanently assume.
Step 10
Allow the wing to stay immobile in a dry place for a week. The basic fan will be ready when the skin is dry and the wing moves as a solid piece. It can be used as a fan at this stage.
Step 11
Add embellishments if a plain fan isn't what you wanted. You can glue a soft leather grip to the base of the wing, as well as strips of leather lacing with beads.
Video of the Day