Things You'll Need
Waxed paper
2 hardback books
Large rock
Card stock paper
Scissors
Tacky glue, clear
Picture frame, 8 inches wide, 10 inches long

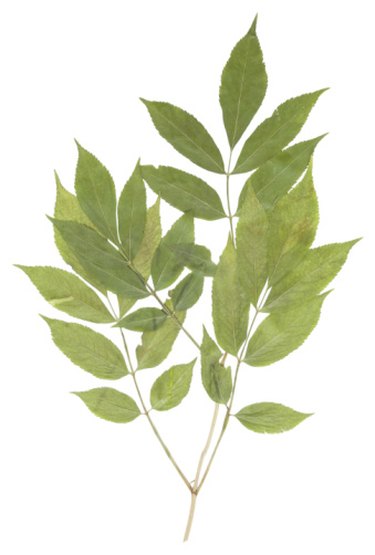
If you enjoy collecting colorful leaves in the fall, you can use them to create a decorative display that can be hung on your wall. Although leaves will curl and crumple when they dry out, you can dry the leaves in a particular way that will prevent them from curling up. You can make a decorative leaf picture using a few basic materials that can be purchased at any arts and craft store, such as glue.
Step 1
Place picked leaves in a single layer between two sheets of waxed paper, then place the waxed paper in between two heavy hardback books.
Video of the Day
Step 2
Put a heavy rock on top of the books and allow the structure to sit for a week.
Step 3
Cut out a rectangle from card stock, measuring 8 inches wide and 10 inches long. Lay the rectangle in front of you on a flat surface.
Step 4
Remove the leaves from the makeshift leaf press. Decide on a pattern for the leaves by placing them around the card stock. Take your time and be creative. Once you decide on a pattern, leave the arrangement in place on the card stock.
Step 5
Lift one of the leaves off of the card stock and apply tacky glue onto the back of it. Put the leaf back in place exactly as it was and gently press it with your fingertips. Repeat this with each leaf until all of them have been glued in place. Allow the glue to dry for 30 minutes.
Step 6
Take off the back of the picture frame. Place the card stock pattern in the frame with the leaf side facing out of the glass, then put the back of the picture frame back into place. You can now hang the glued leaf picture on your wall for display.
Video of the Day