Things You'll Need
Iron
Ironing board
Pin
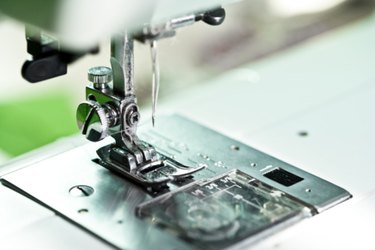
Sewing machine
Thread (matching the fabric precisely)

Creases running vertically down the center of pant legs can help create a smart and sophisticated style. Although some fabrics hold creases more permanently than others, you may find yourself pressing creases frequently to keep them crisp and sharp. Eliminate the need for pressing by sewing a permanent crease in your garment. With a simple process, you can make the crease a permanent feature that requires no maintenance.
Step 1
Press the crease into the fabric in the position you want it. When sewing pants, front creases generally begin where any pleats or darts around the waistline end. Back creases generally start at the crotch level. Set the iron to the temperature suitable for the fabric and use steam to create a hard crease along the entire length of the fabric.
Video of the Day
Step 2
Place a pin at the point where you wish to stop stitching the permanent crease at the top of the garment.
Step 3
Place the pressed fabric into the sewing machine at the bottom of the garment, positioning it to sew 1/16-inch away from the folded edge of the crease.
Step 4
Stitch along the entire crease slowly and carefully to ensure that you sew straight. Stop stitching when you come to the pin. Remove the fabric from the sewing machine and remove the pin.
Tip
Sewing a permanent crease in the front of the pant leg only is most common. If you want to, you can also stitch a permanent crease in the back of your pant leg using the same technique.
Video of the Day